 If you’ve been wanting to try your hand at upholstery, a small side chair is a great way to start. Unlike a Parsons chair, (view my tutorial of one here), this chair has arms to cut around, and a border (yours may not) so it is a bit more complicated.
 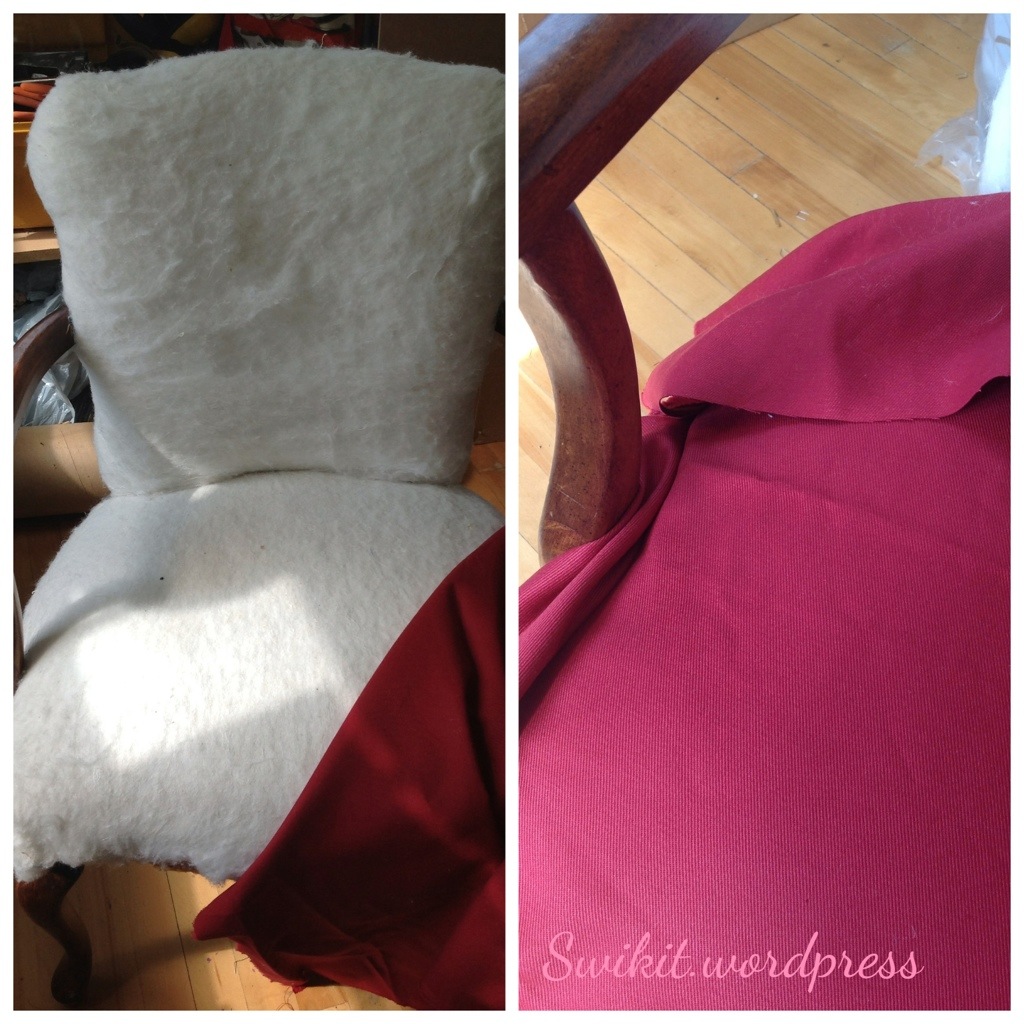 Begin by stripping the chair, and add padding if necessary. For upholstery, you will need:
*About two yards/meters of fabric.
*Tissue welting (for piping)
*Cardboard strips
*Bonded polyester (for padding)
*A decent stapler and staples as well as tools for staple removal.
*Liner fabric
*Curve-ease (probably)
Upholstering the seat:
The first upholstery step is to lay your fabric across the seat and beginning at the arms, make v-cuts. 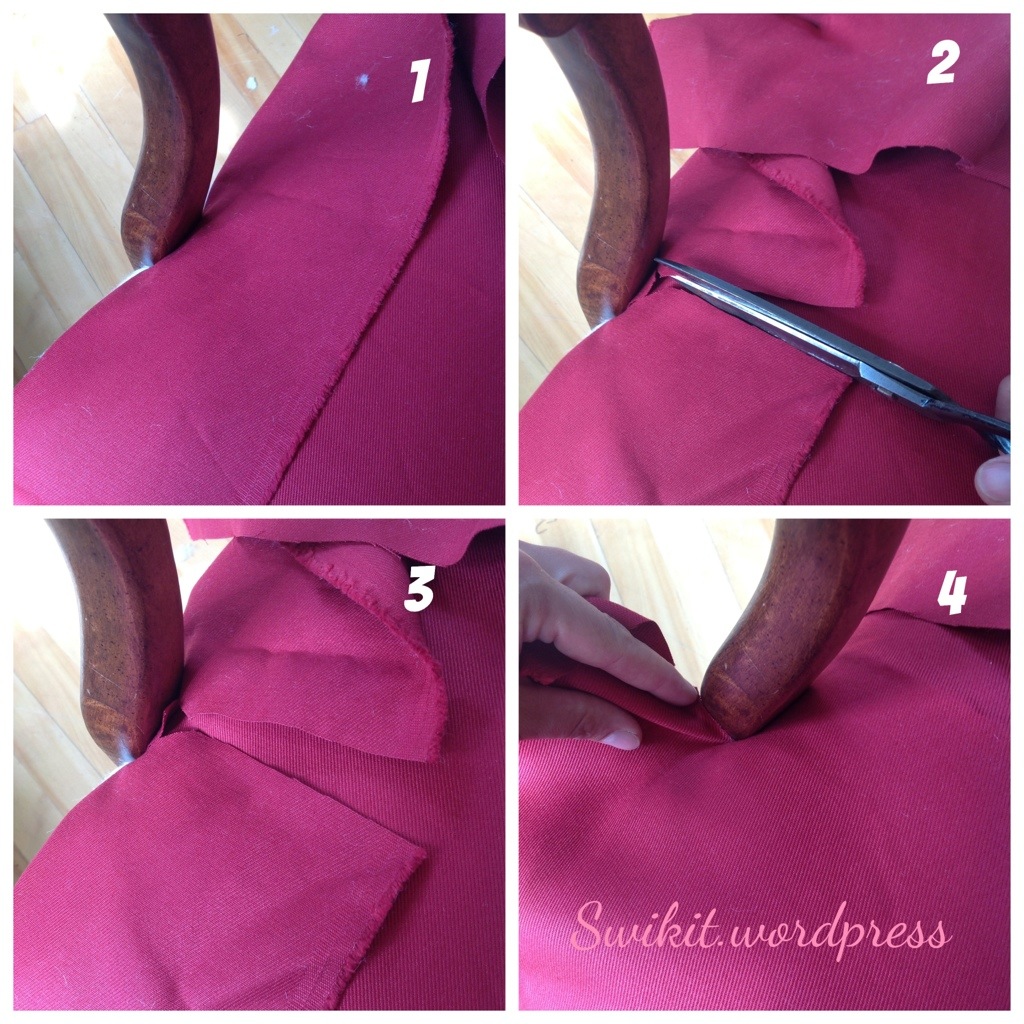 As the name implies, you make a cut down the center line of the arm, which turns into a “v”, to each edge of the arm.
 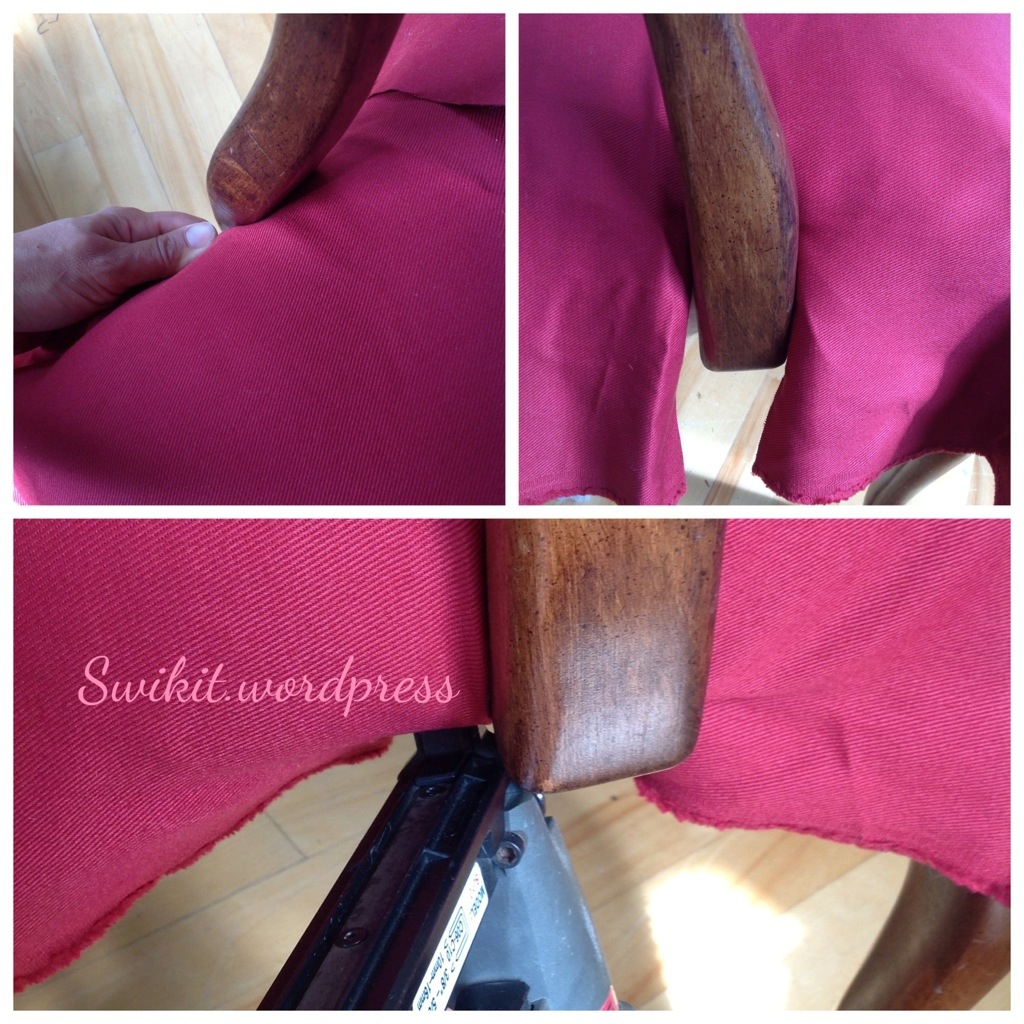 You tack this down on each side, and then tack the front of the chair in the center with one staple. (Pull the fabric firmly first).
 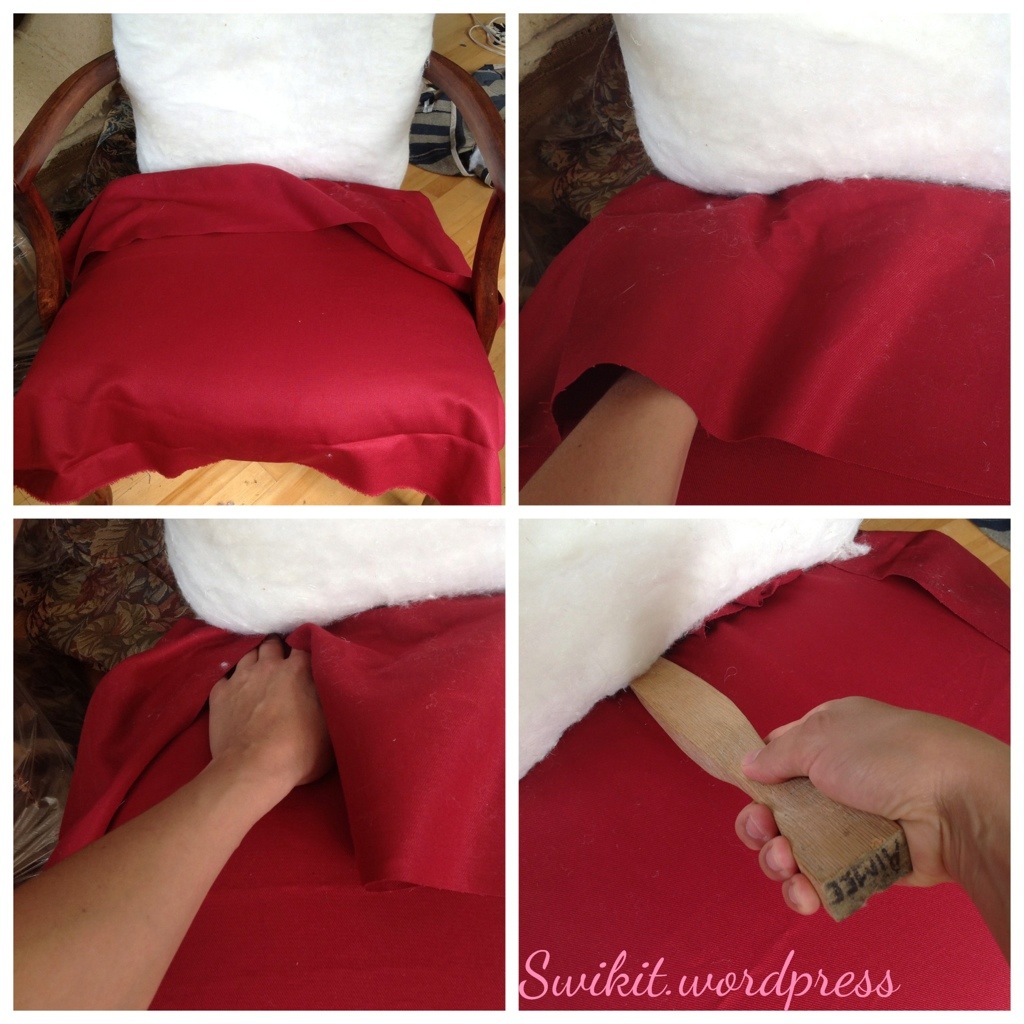 Now you’re going to make your back cuts. They are also v-cuts. Use your shoving stick (yes, it’s really a thing) to get the fabric through to the back. You can use your hand if you’ve misplaced your shoving stick.
  Tack the fabric along the back.
 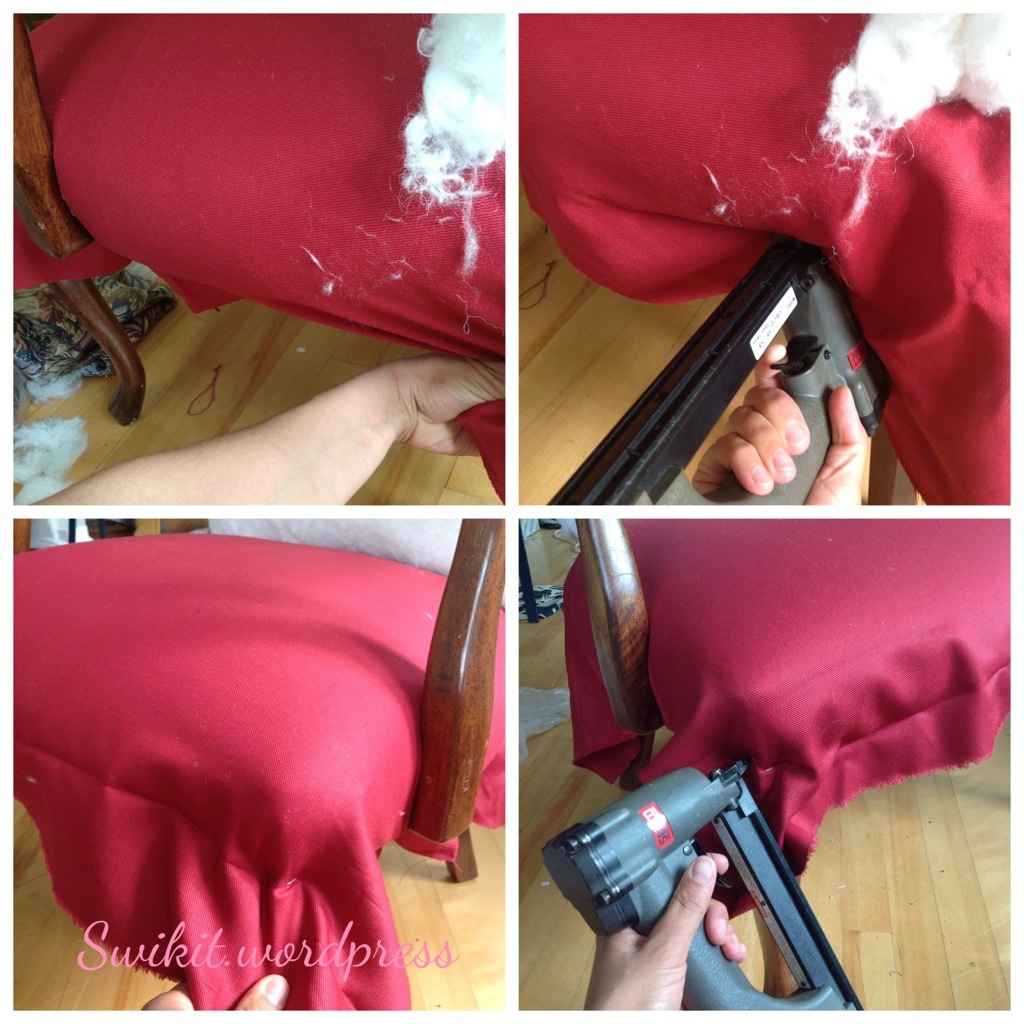 At the back leg, pull firmly backward. This is important. Staple under. At the front leg, you want to pull firmly forward. This is to stretch the puckers out of the fabric.
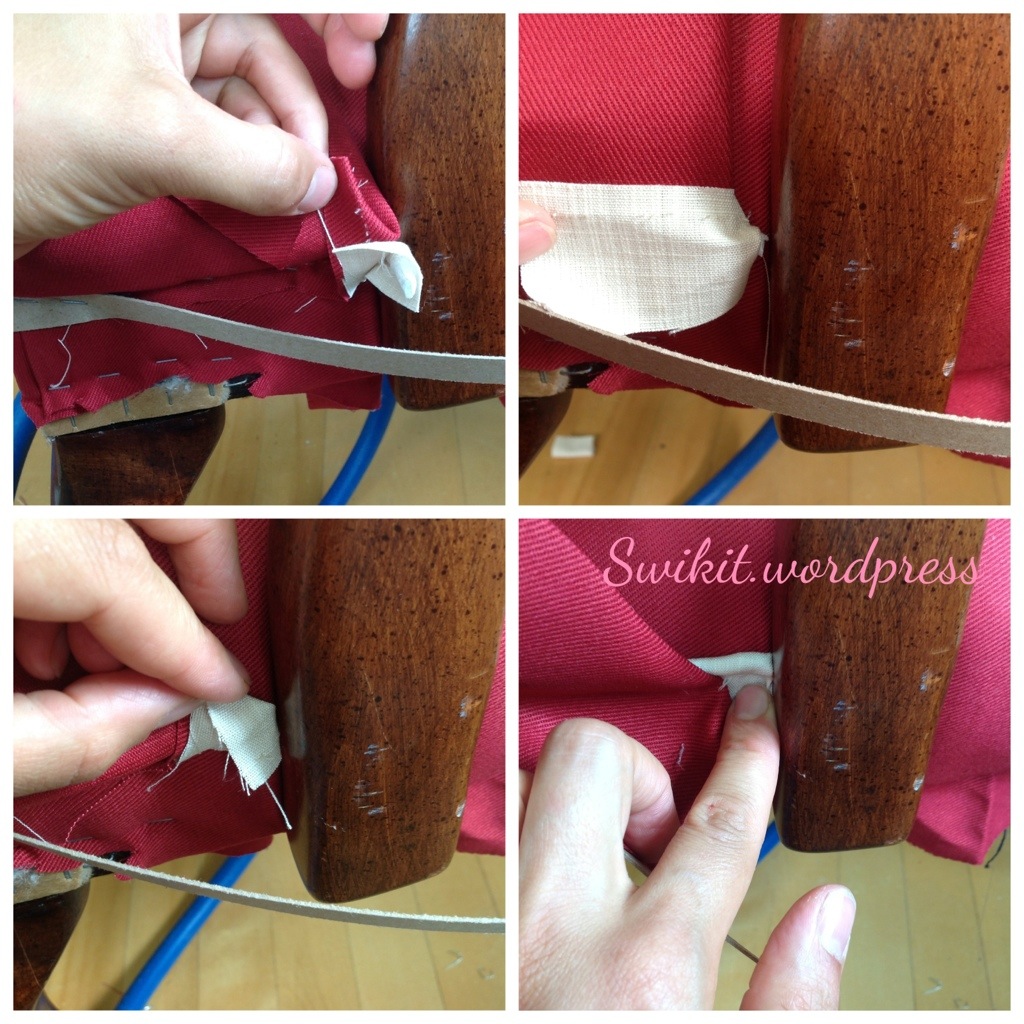
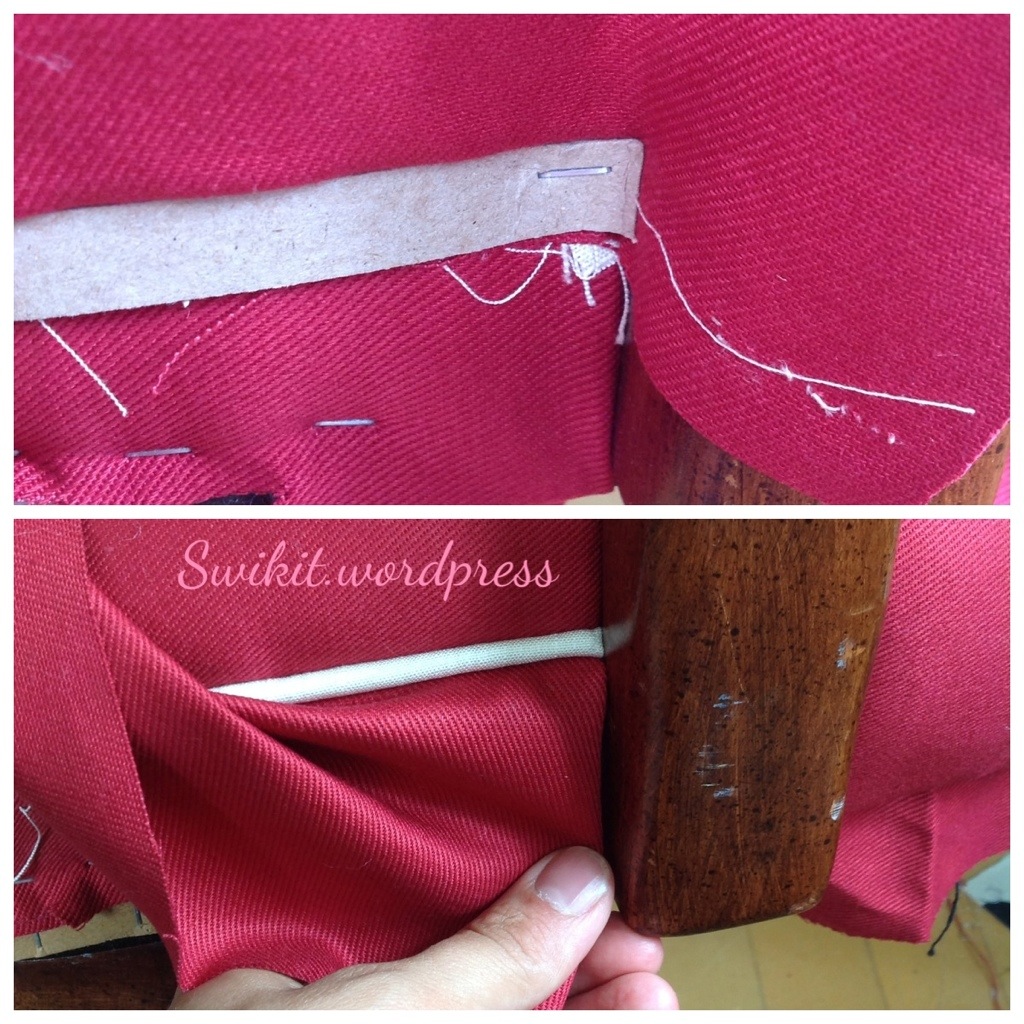
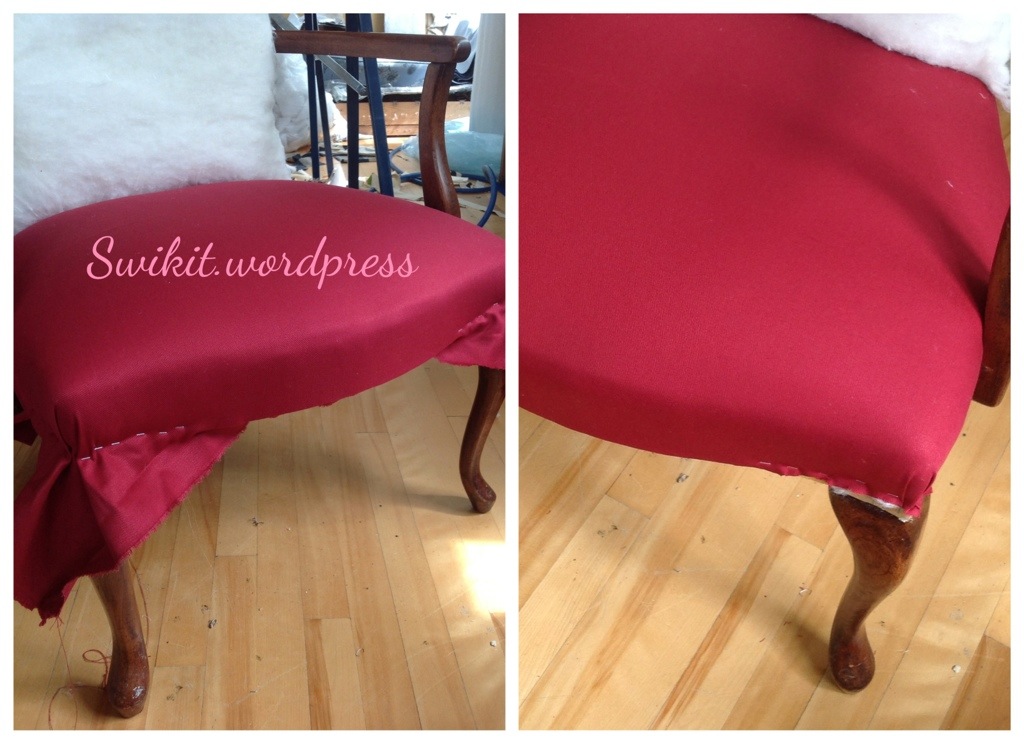 Staple the corners and along the front and sides. I am adding a border along the front of my chair, so I can staple on the front of the seat edge. If you aren’t putting a border on yours, don’t staple on the front. It will not look good. Instead, make pleats on the front corners, and staple discreetly where the leg meets the frame. We will cover them later.
Upholstering the back:
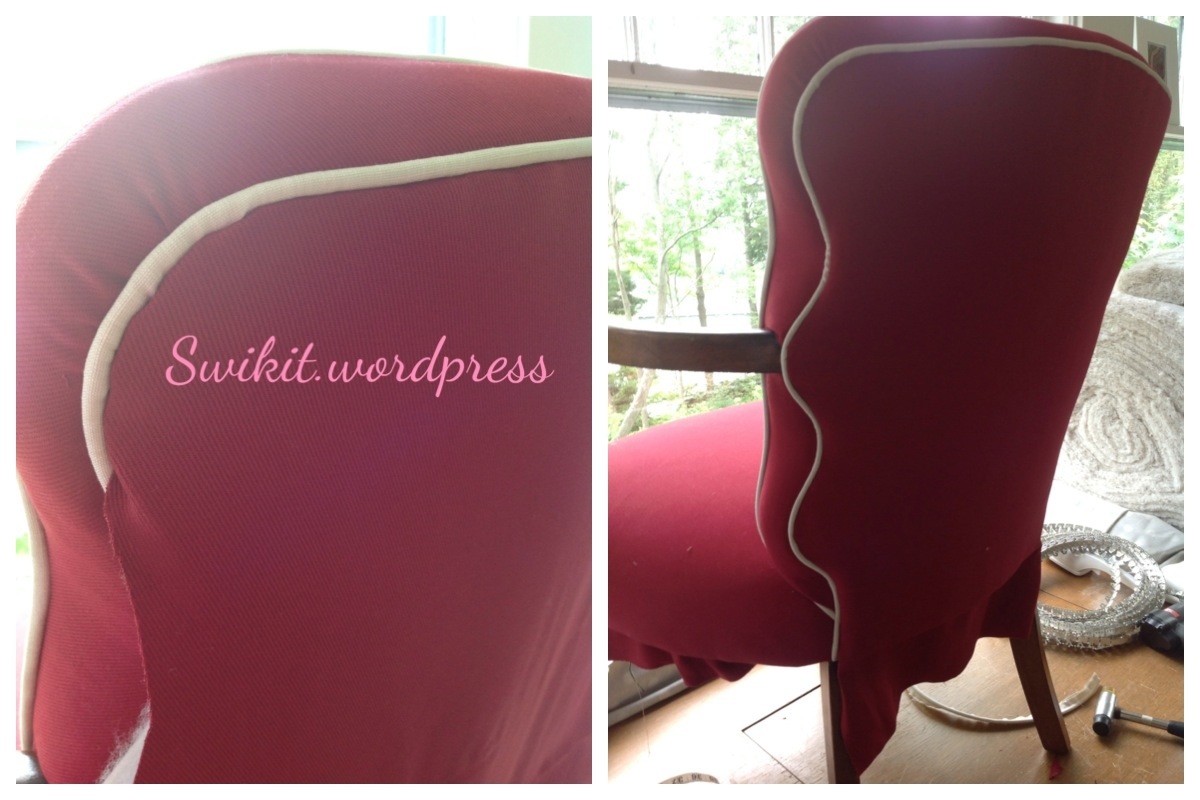
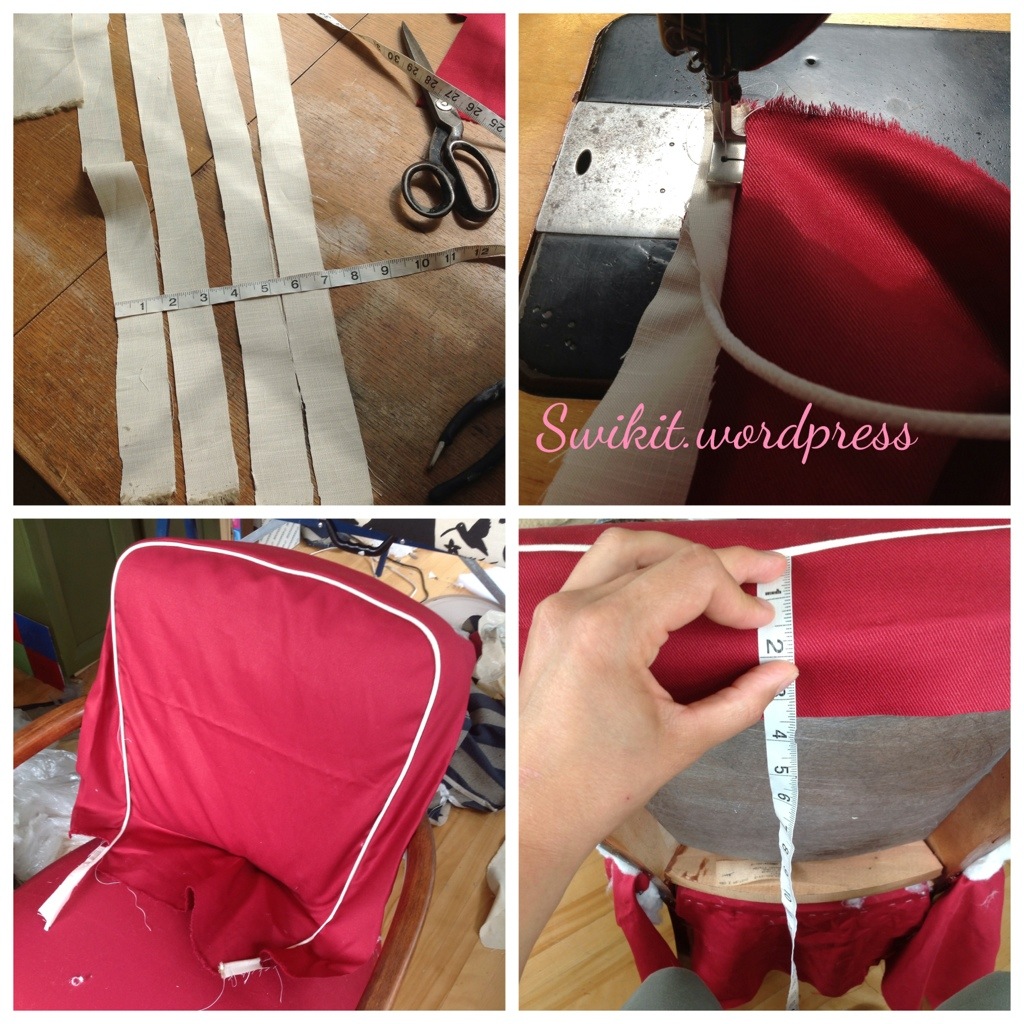 I have made my back with a piping border, because I have used contrast piping (piping in a different fabric). **You do not have to do this. You may choose to simply wrap the fabric around the back instead. Pleat it at the top corners.** Mainly, you have to make those darn cuts again, where the arms meet the back. Again, use a v-cut.
 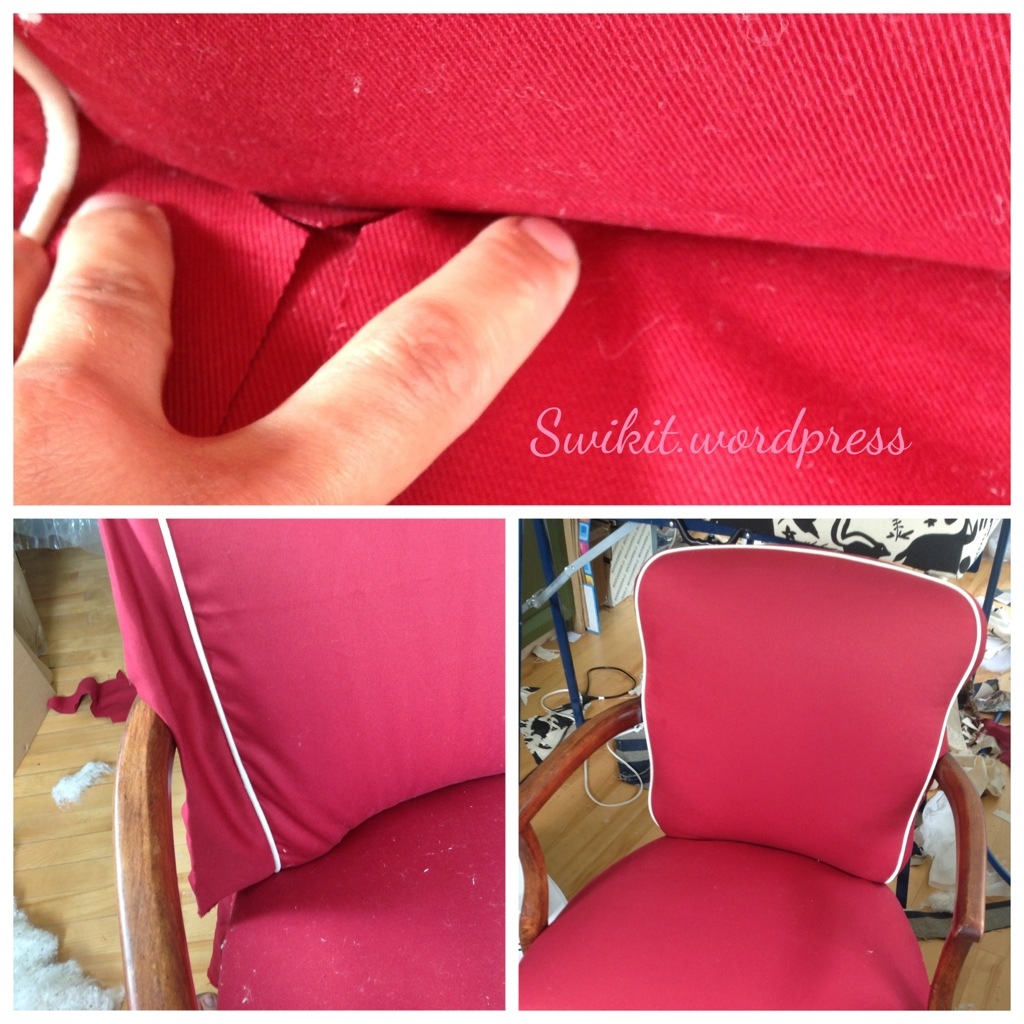 After you’ve made the cuts at the bottom where the legs are, pull the fabric through and staple. Make the cuts at the arms. Staple the entire back in place.
Making a border (optional):
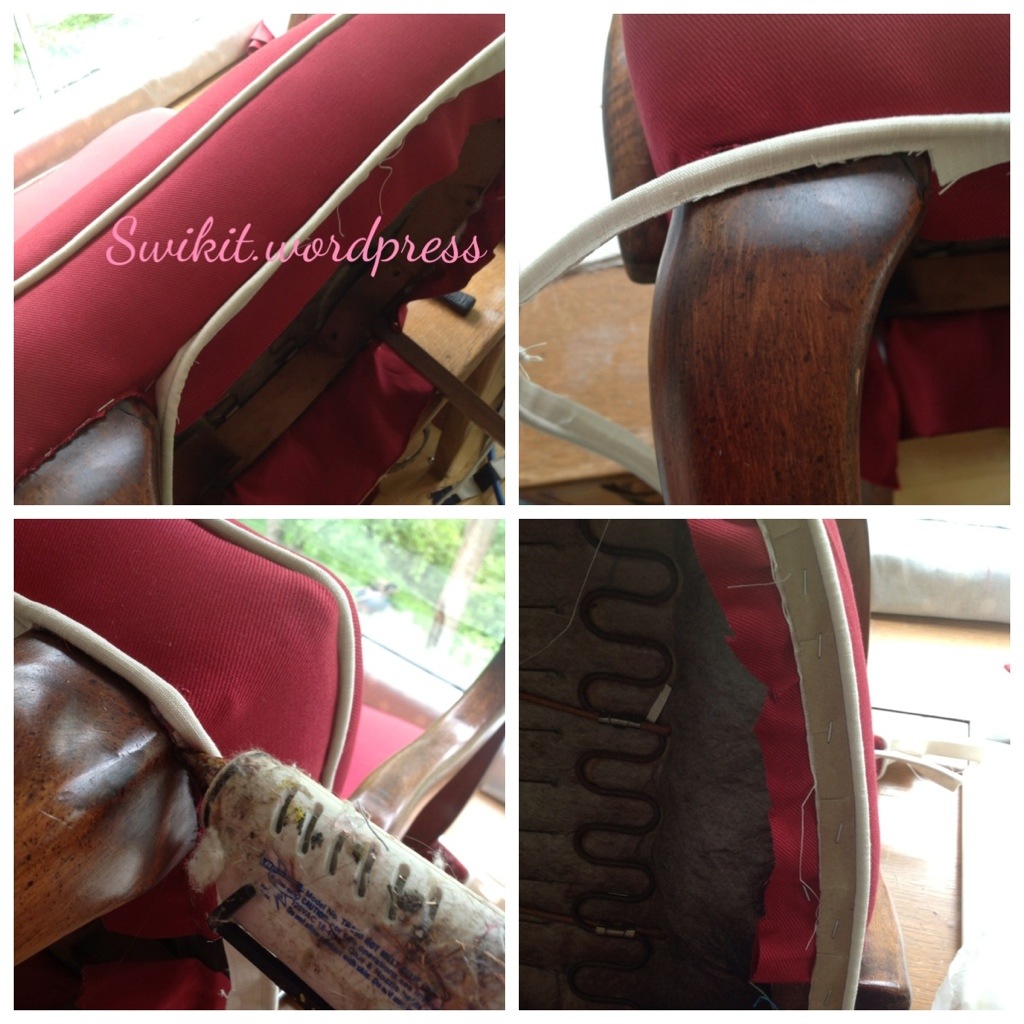
 Sew the piping along the top edge of your border fabric. Staple it evenly along the edge of the front. Choose a height that will look proportionate and make sure the wood frame is even where you choose to staple it. Measure to make certain it is even all the way around!! Use cardboard strips to keep it in place.
 When you reach the arm, you have to cut the tissue welting and wrap the piping fabric around so you don’t see the frayed fabric.
 The cardboard strip goes right to the edge to hold everything in place.
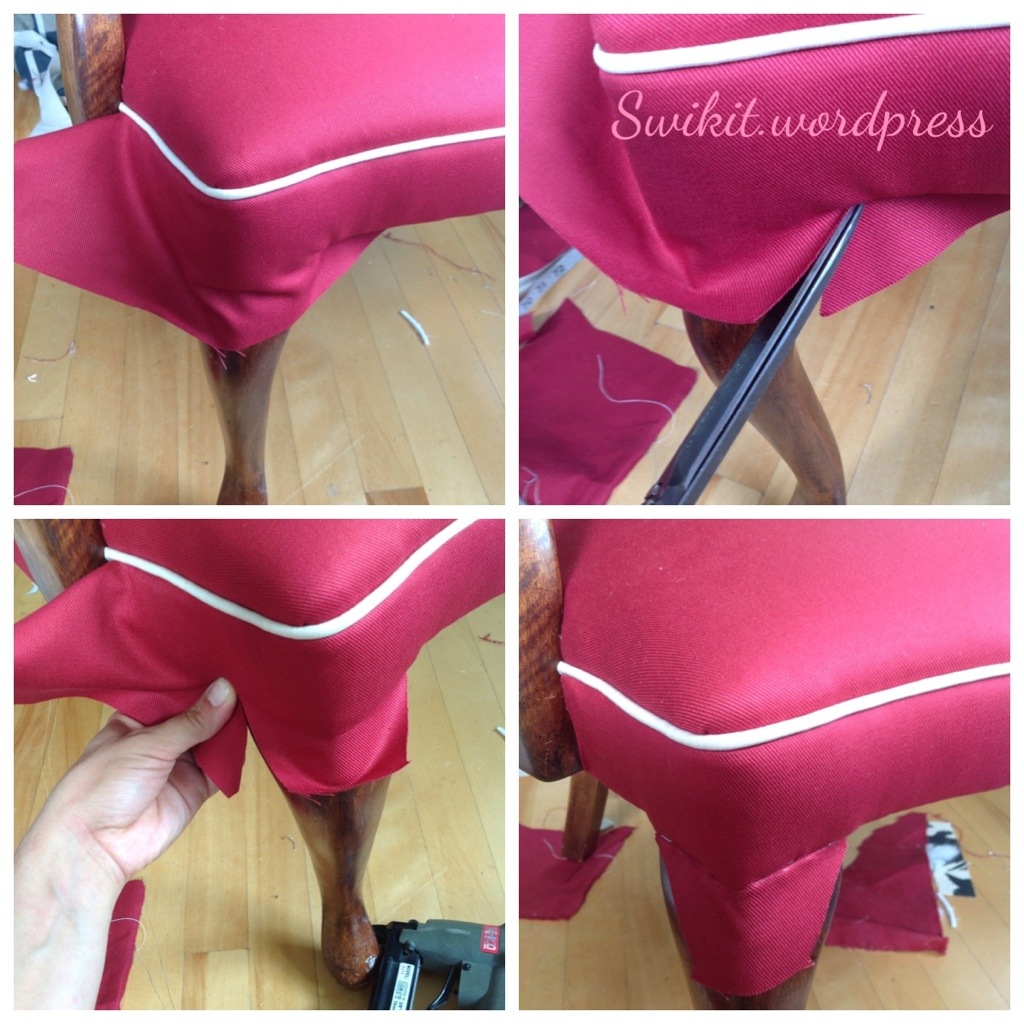 At the legs, you make more cuts and fold the fabric under. You can staple along the edge of the leg, because we will cover them up later.
Upholstering the outside back:
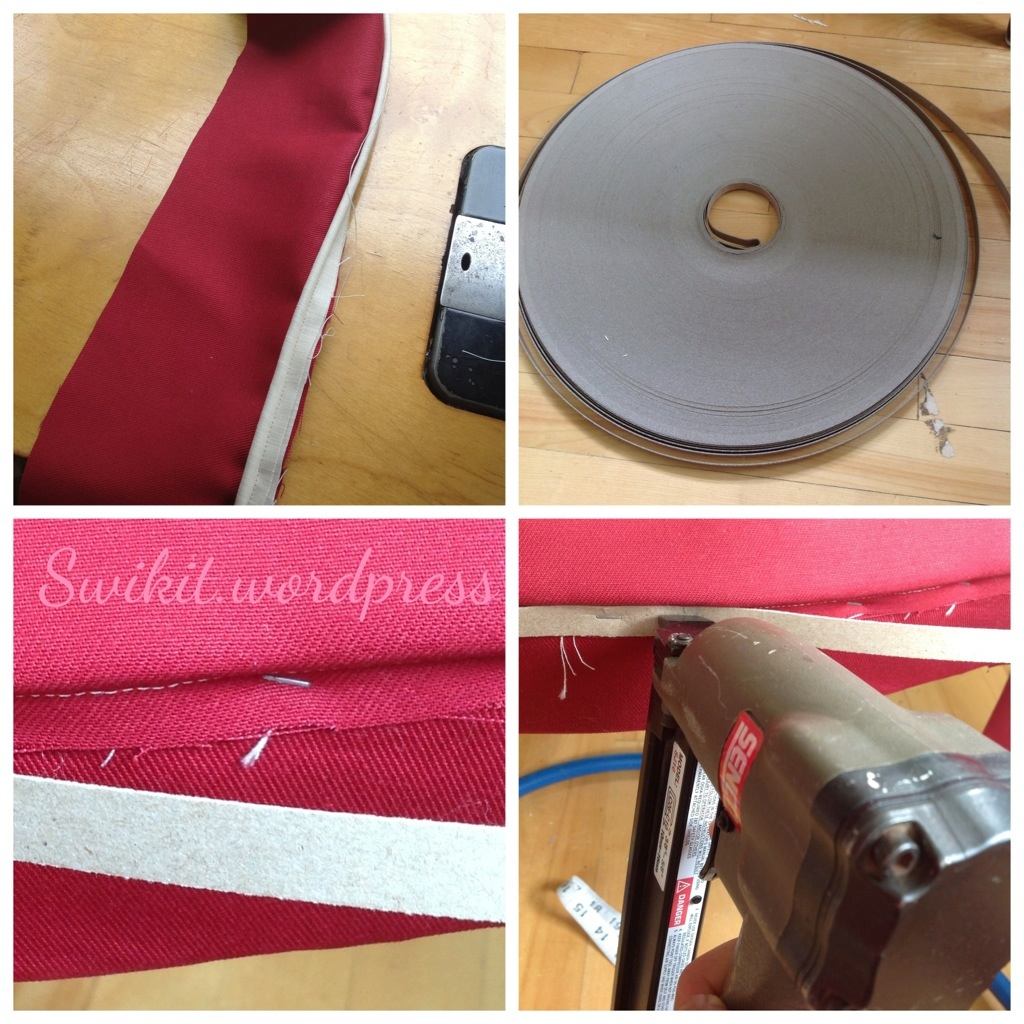
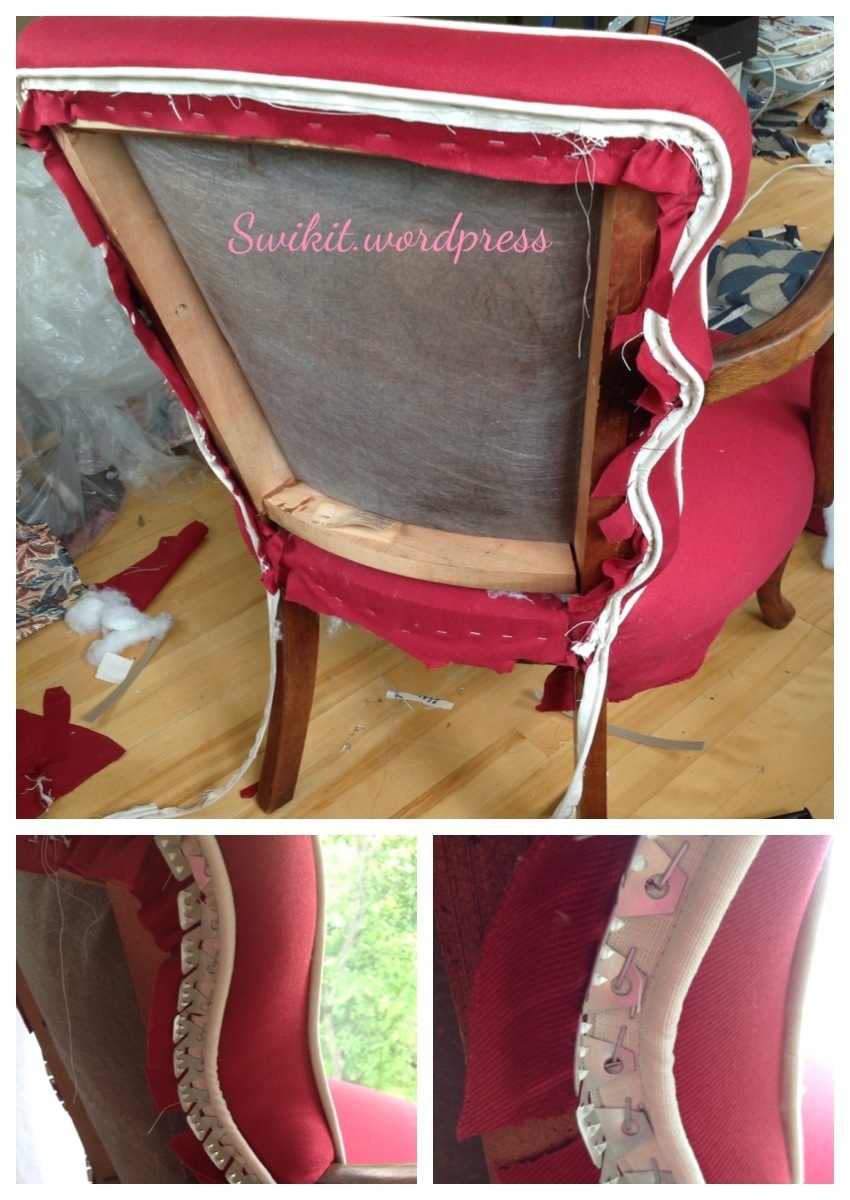 Make a long piece of piping to staple along the back frame. It always looks best to follow the shape of the frame. For this curved back, I will need to use curve-ease. It can also be blind stitched, but that would take longer. If your back is straight, you can use cardboard strips and metal tack strips instead. (Refer to Parsons chair post above for those detailed instructions).
 For the curve ease, you just staple it along the piping, close it partially, push the fabric between the teeth and then hammer it closed with a plastic mallet.
Finishing details:
 Make another long piece of piping, and staple it to the bottom edge of the chair. If you were beginning to despair that you would never be able to use your hot glue gun, think again! Here’s the proper place to use our beloved hot glue on an upholstered chair.
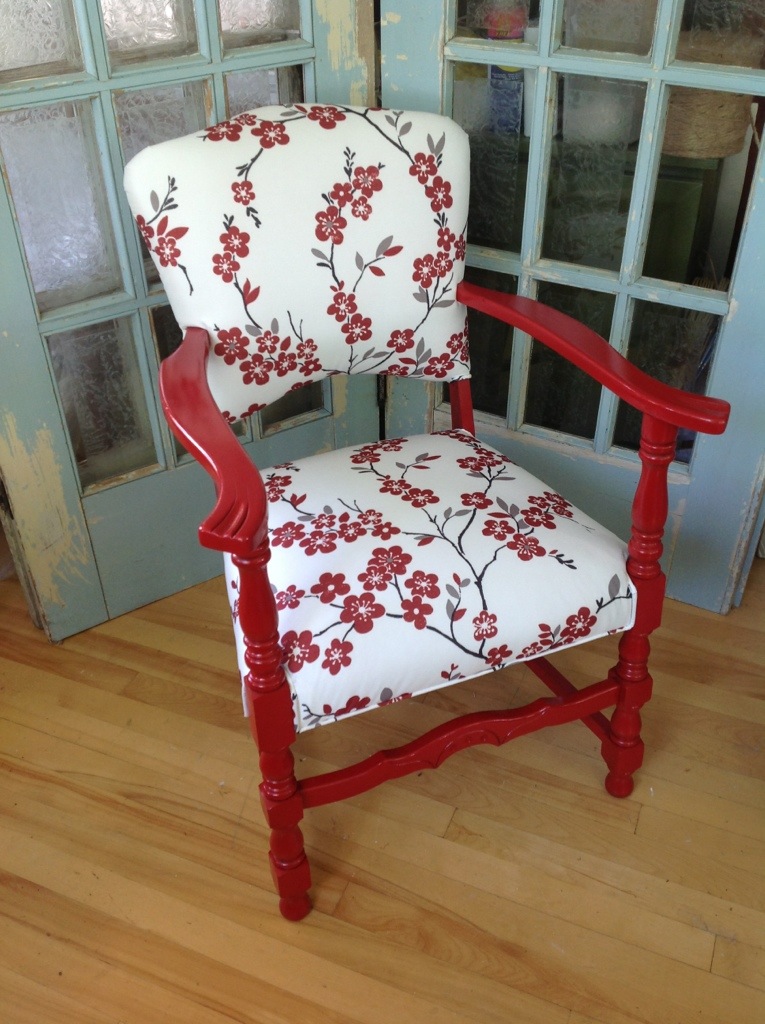
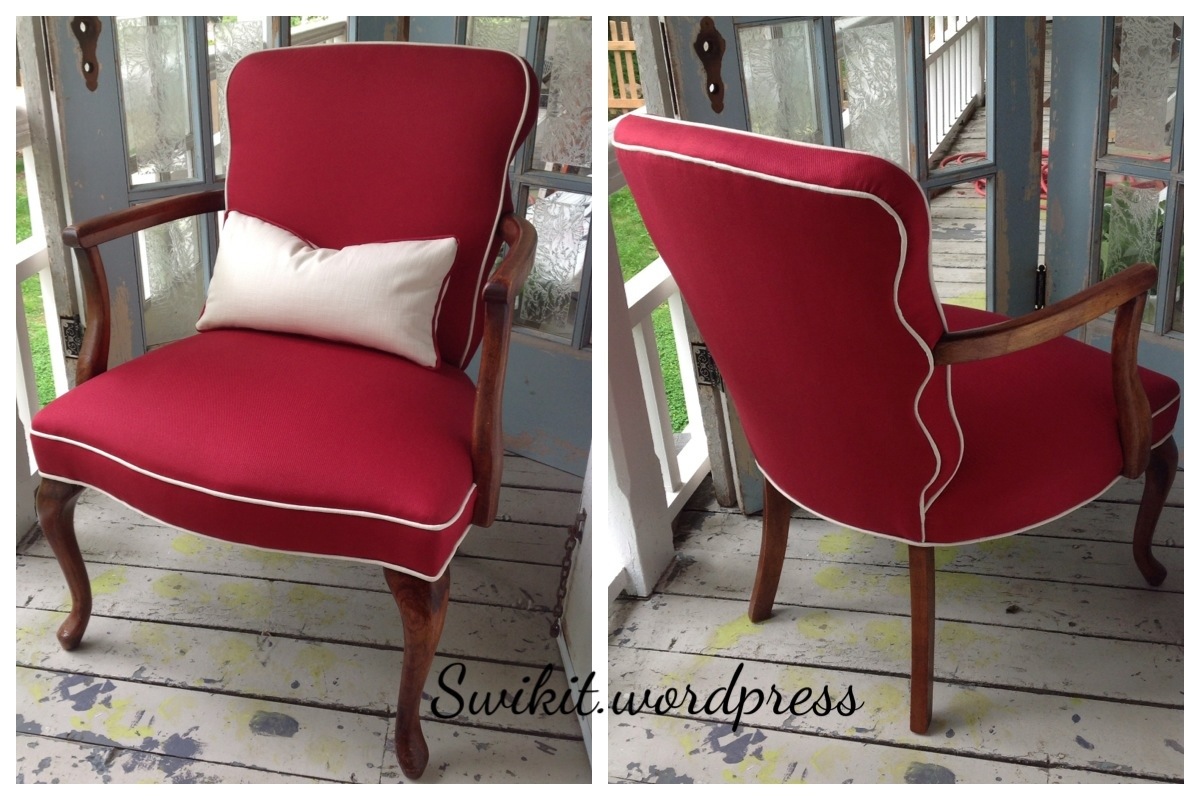 The end result is quite a stunner. I am always impressed with the fabric choices my clients make; each project is a true collaboration. This particular chair is so appropriate for the upcoming Canada Day long weekend!
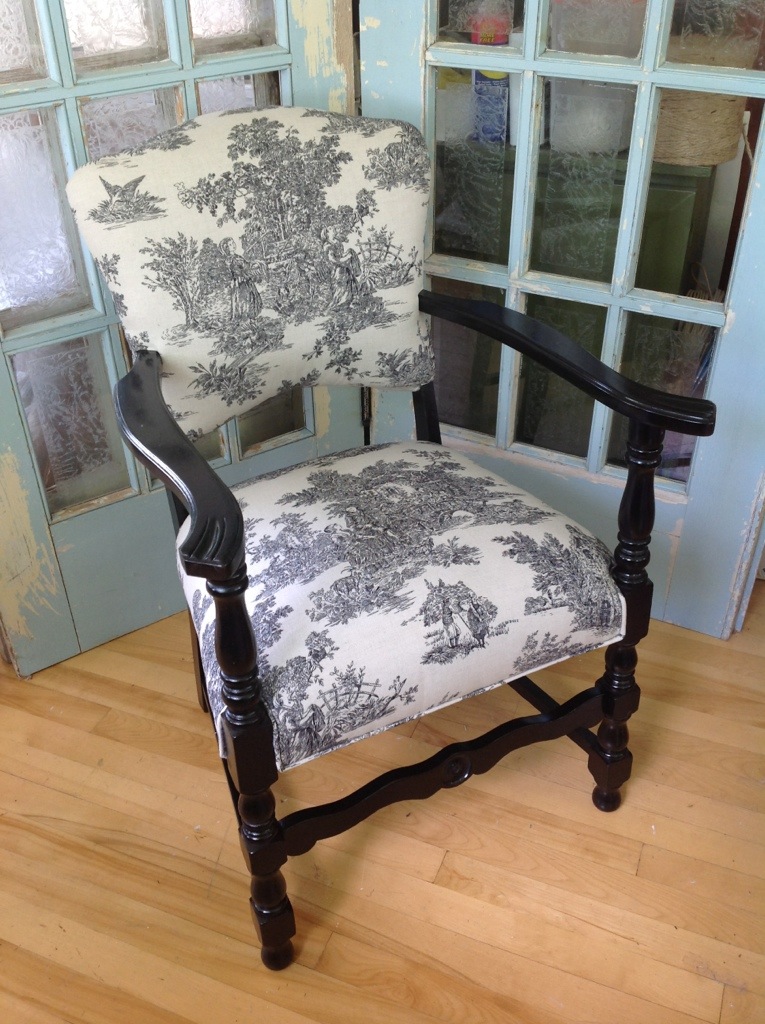
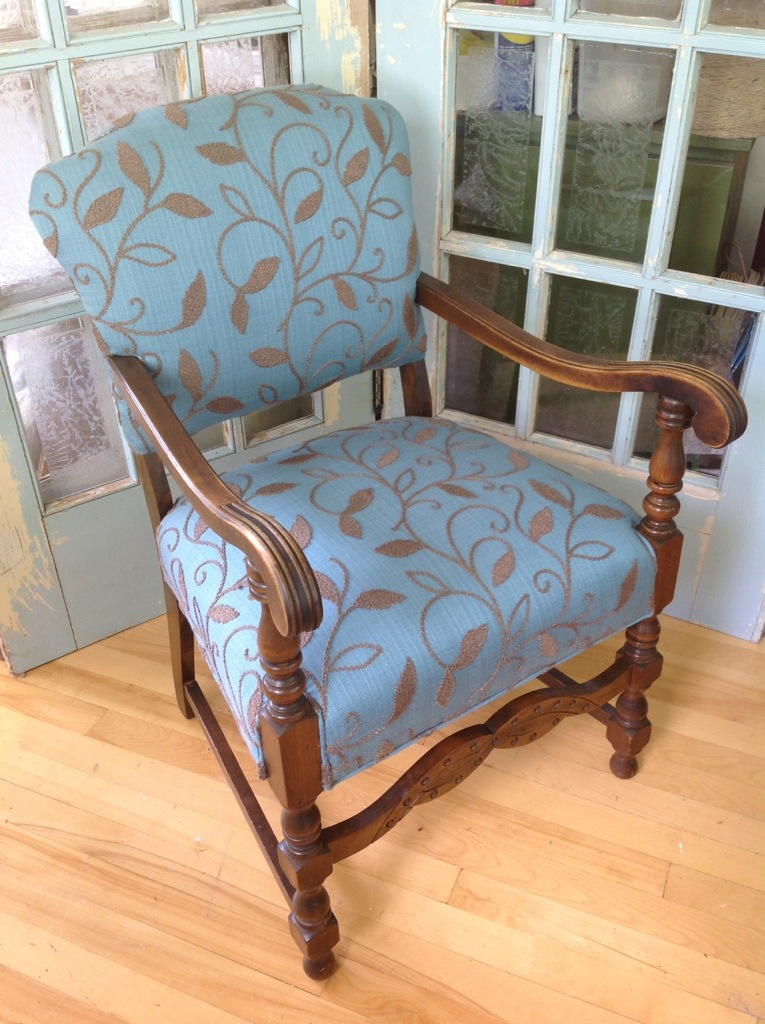
Here are a few more examples of a similar and common style: