


There was recently some discussion on my Facebook page about whether or not a classic Kroehler chair needed to be reupholstered, or if it was perfect in its original state.
The two schools of thought seem to be:
1. Vintage furniture ought to remain intact and as original as possible in order to preserve its integrity and authenticity. [Or, it’s great as it is!]
2. Vintage furniture, with its solid foundation, makes a great jumping off point for creating one-of-a-kind treasures. [Or, it could be so much better!]
I think we all know where I stand on this issue.
This little beauty was brought to me by a client practically minutes after I posted a similar style on Facebook. I like to use my Facebook page to show examples of free and nearly-free awesome vintage furniture on Kijiji…in the hopes that someone else will rescue it and give it a new home. It’s almost as though I asked the universe for this Kroehler chair project, and my request was granted!
After I made sure the client was on board, I decided to make some changes to the style of the chair.
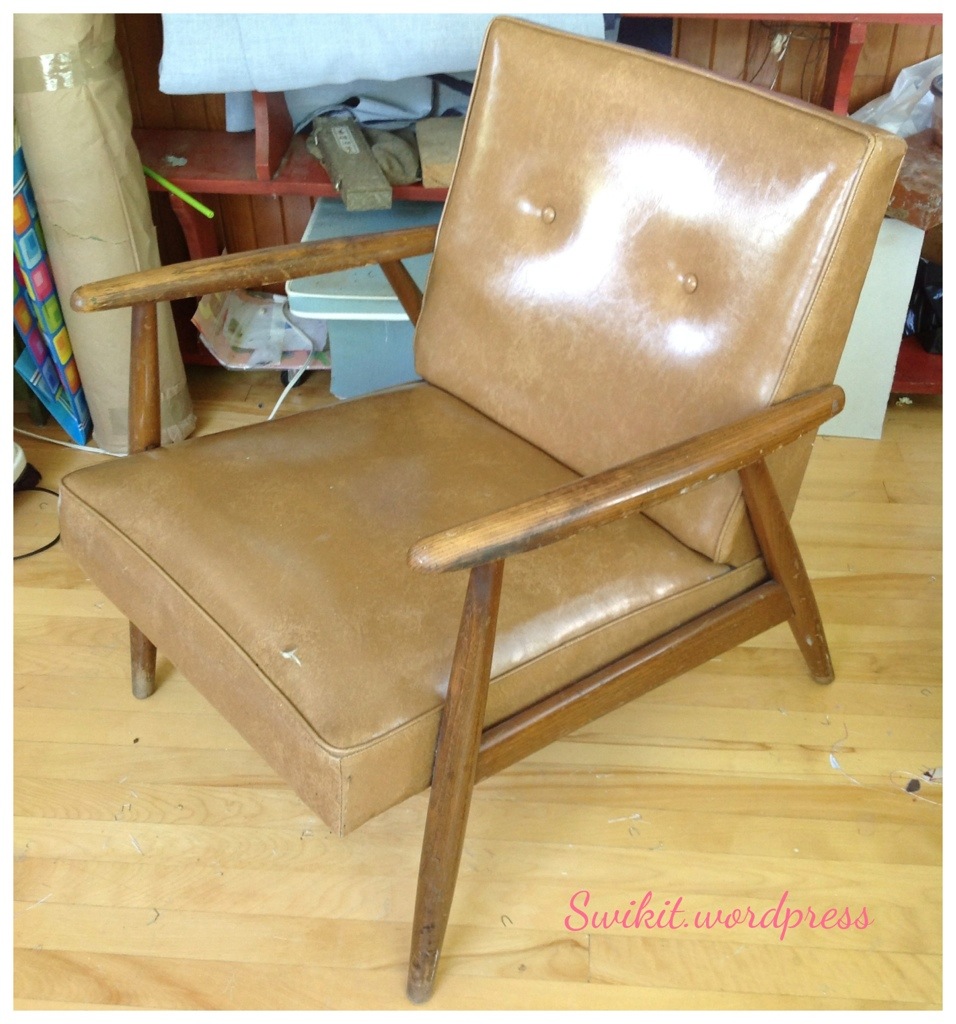 The chair was originally very boxy and flat. After 40 or so years of use, a seat will flatten out and require extra padding, though I believe this chair was meant to have a very square look.
 I carefully removed the Kroehler tag on the back of the chair (to put back on once finished), and removed the wood plugs so I could unscrew the wood pieces.
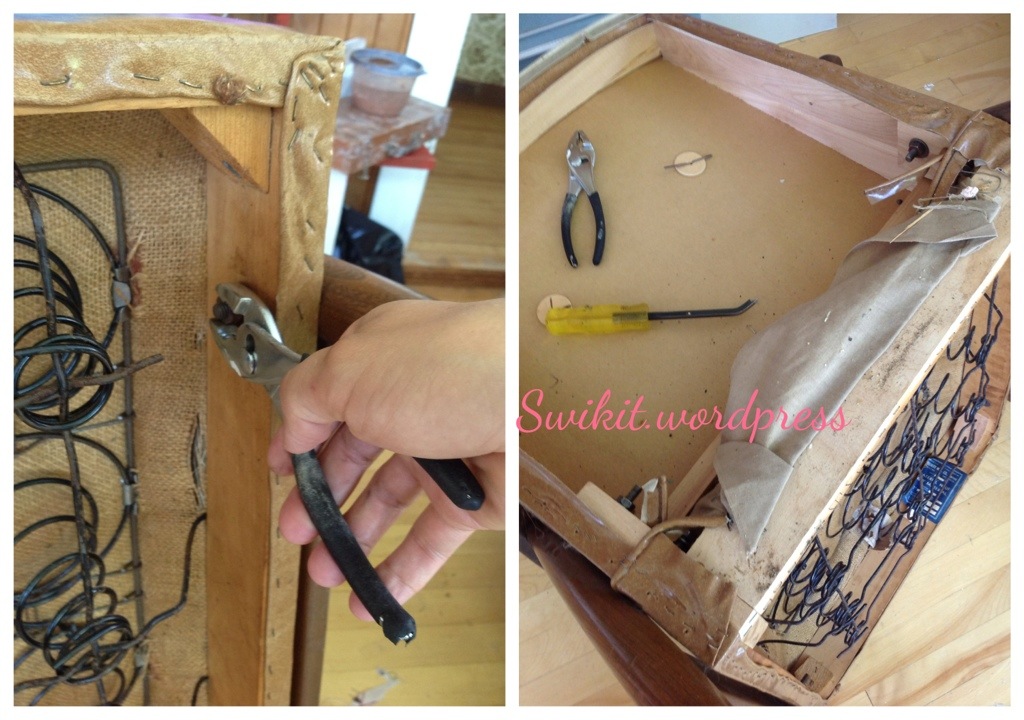 The only way to properly reupholster these chairs is to remove the wood. Removal is simple; just unscrew the nuts on the seat and in the back.
 The pieces look like this once the chair has been stripped down.
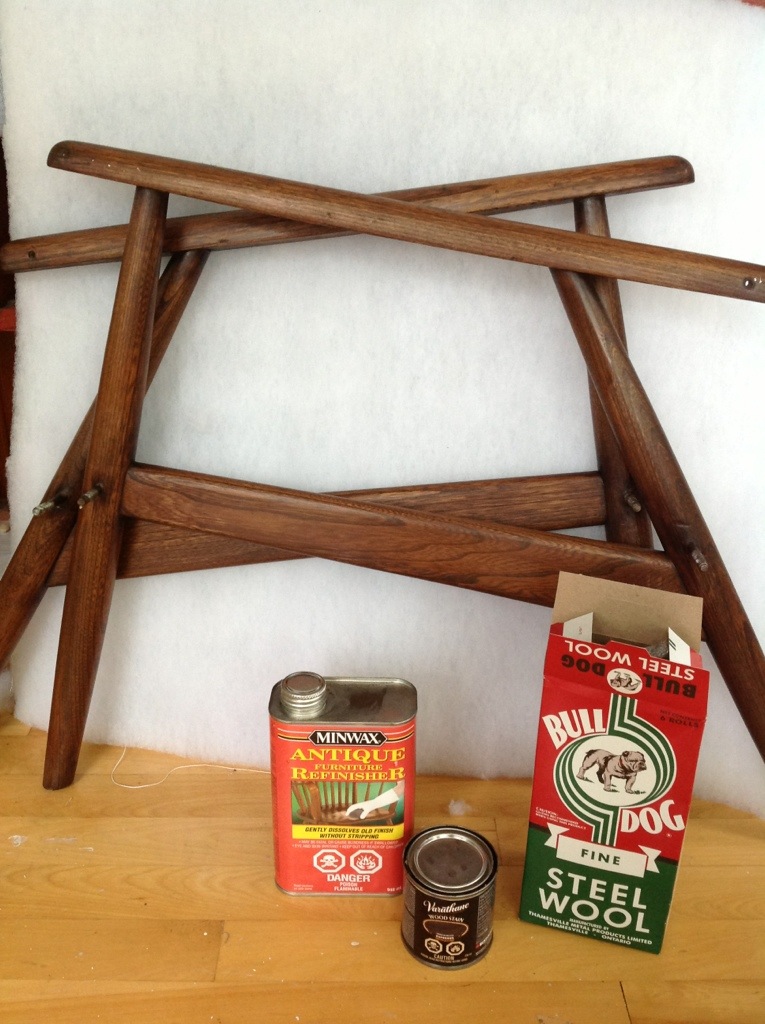 I refinished the wood using these products.
 My decision was to make the sides just a little more curvy, and change the piping detail. This will not change the design of the chair; Re-design implies that the frame of the chair has been altered while Re-style is merely a surface change. I made a cardboard template of the new shape of the side, and used it to pad the chair to the new shape. These templates were also used to cut the fabric.
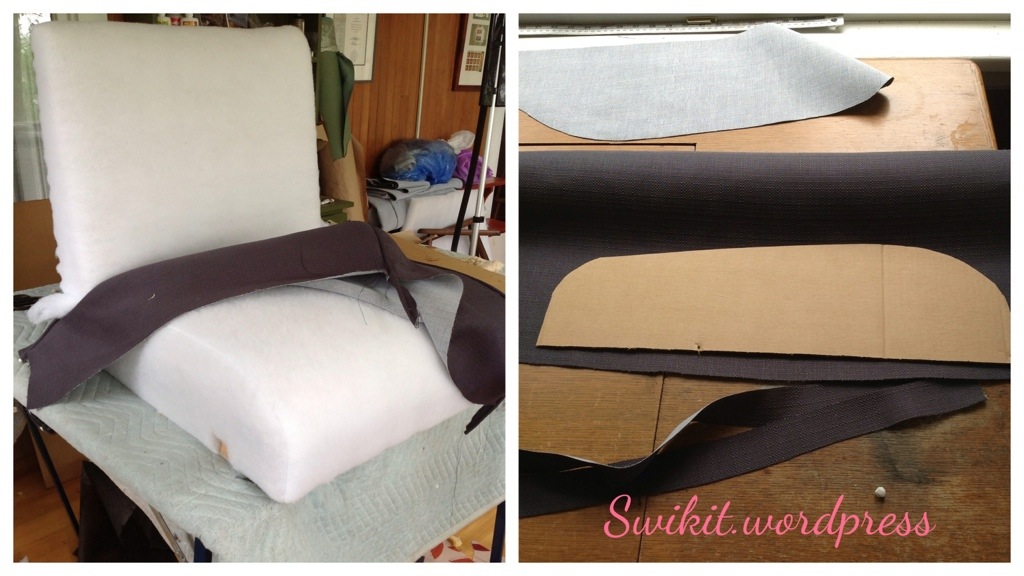 Padding is achieved with cotton felt and bonded polyester.
 When figuring how I am going to tweak a piece of furniture, I take the client (and the small amount of info I have about them), the design of the piece, and the chosen fabric into account. For instance, a great deal of information can be gleaned from asking a client what they most love about their piece. That answer, combined with the fabric choice – in this case a steely grey – gives me the inspiration I need. With this chair, I want to highlight the modern look, keep clean lines, but make it more contemporary. The choice of fabric makes me want to remove fussy details, so I tried the seat with top stitching instead of piping, but felt it was lacking character. Piping was definitely the way to go with this chair.

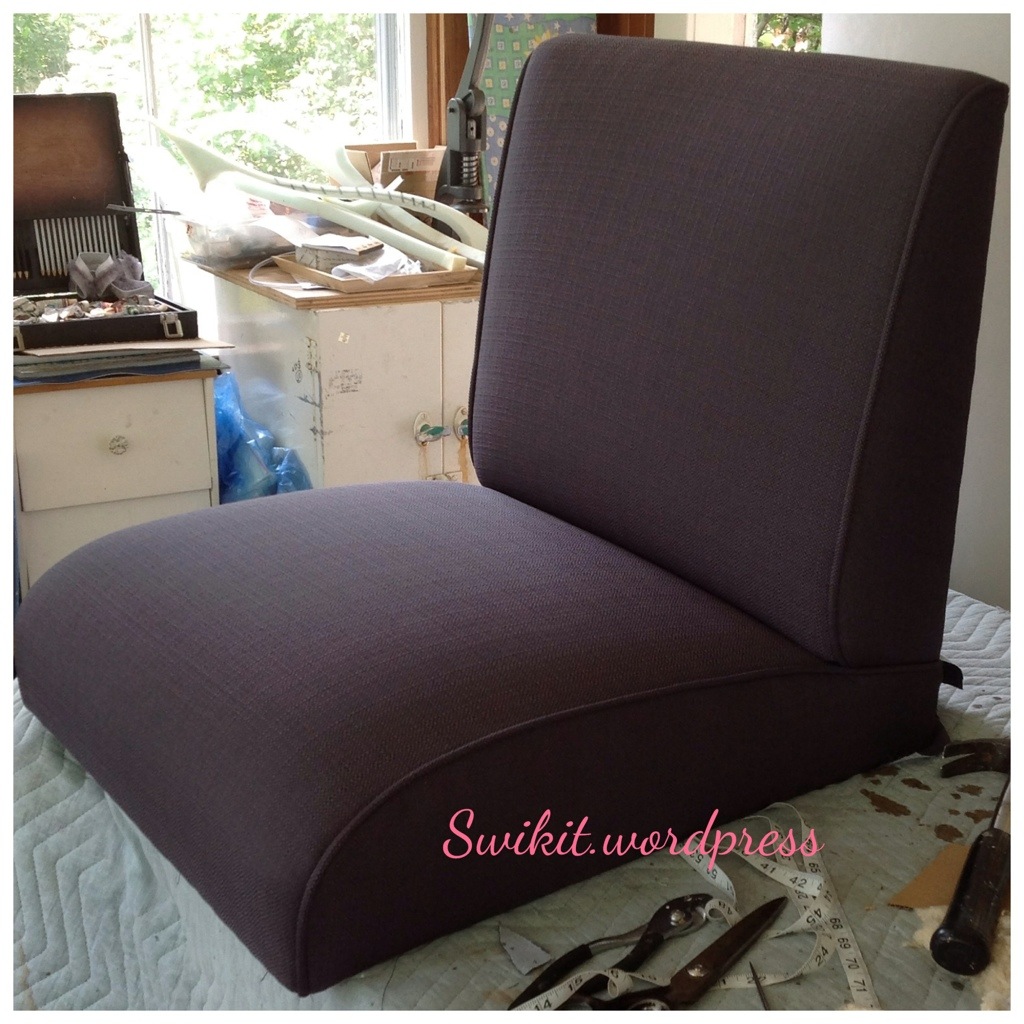 I used the same cardboard template to cut the sides of the back, so it would have the same rounded shape as the seat.
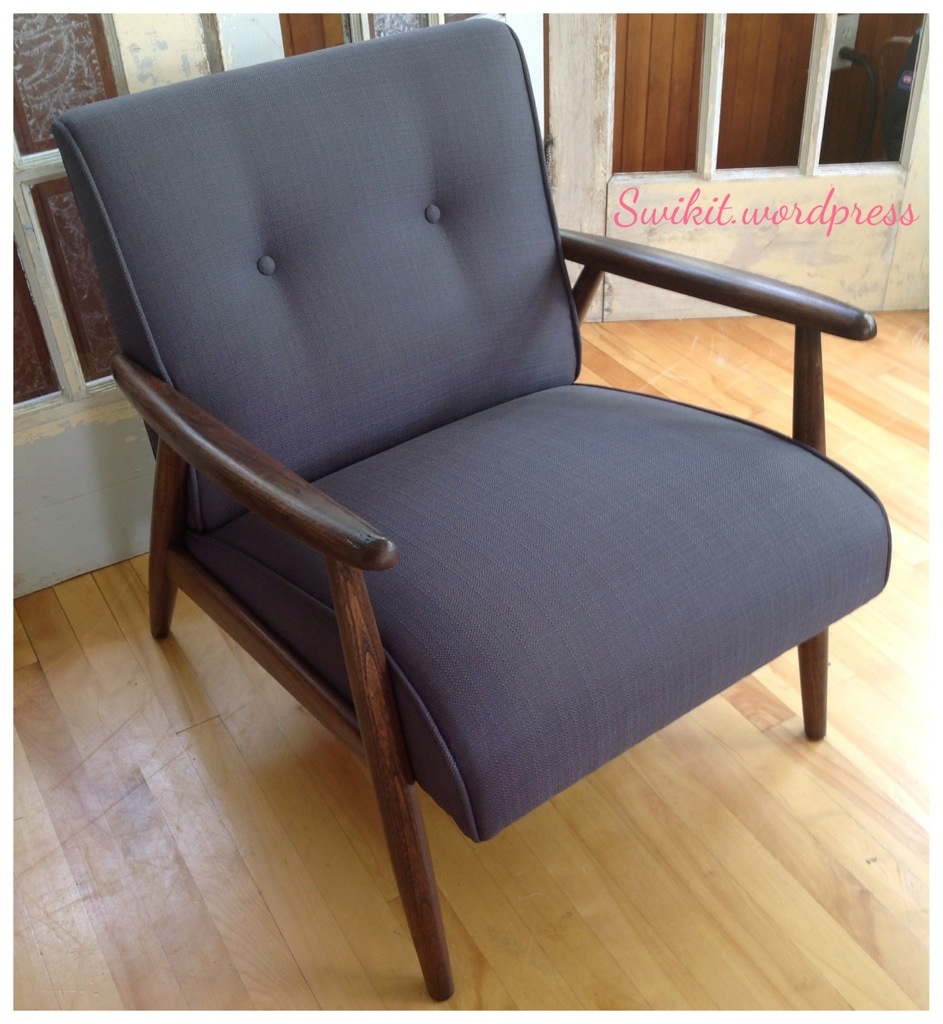 After I reassembled the pieces, the finished result looks much more refined than the original.
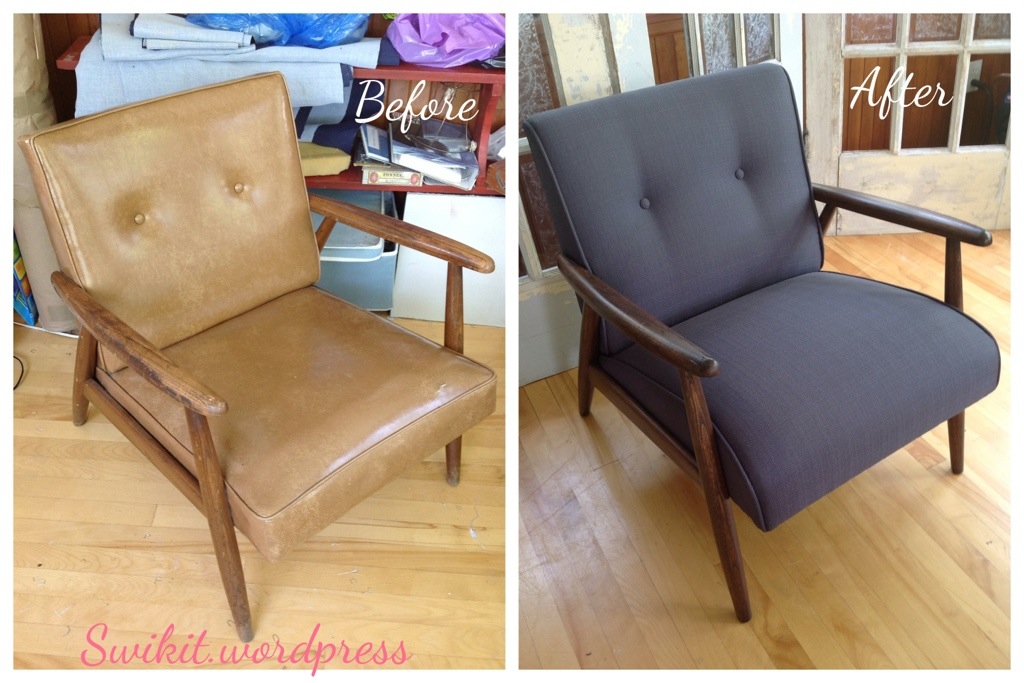 So, what do you think of the changes? Do you prefer the original boxy look, or my curvier version?
