

I’ve been teaching upholstery workshops for a couple of years now. It’s been absolutely amazing – I would never have guessed that I’d enjoy it so much. My students have all been great, and very eager to learn! So, it has been a real surprise to me that many people are reluctant to sew. Especially when it comes to sewing piping.
Sewing is a necessary skill if you plan to advance your upholstery techniques and tackle more advanced pieces…but you can begin simply, and work your way toward more complicated projects.
Here’s an “easy” 10 step guide to make a seat cushion. No piping!
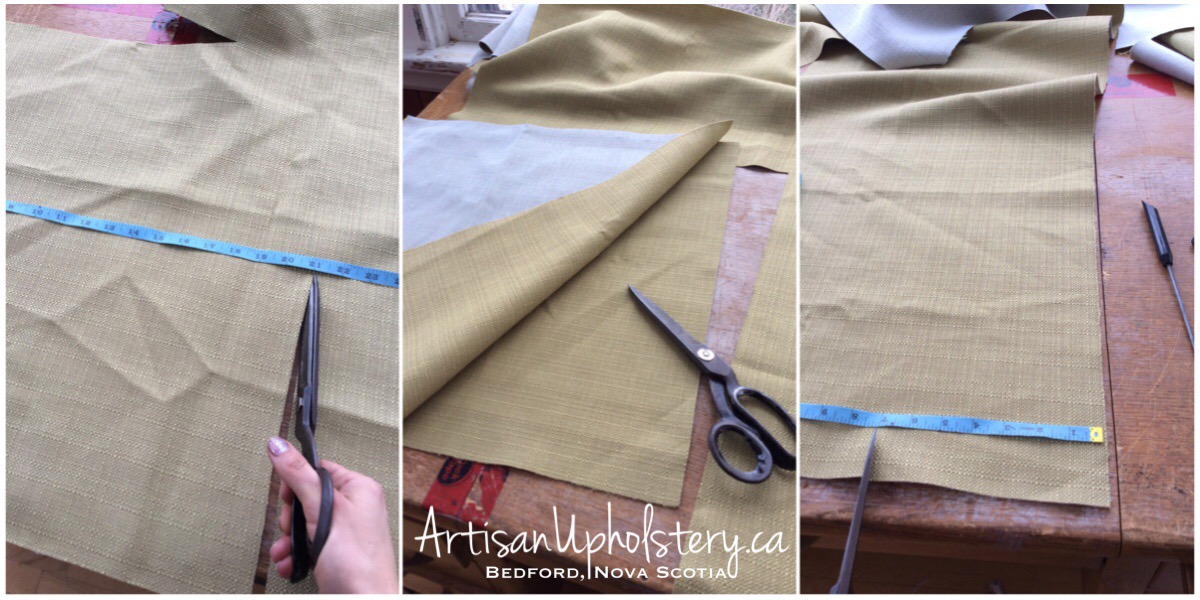
Pieces to cut:
Cushion panels – 2
Border panels- 1 long, 1 short
Zipper panel – 2 pieces to be sewn to the zipper
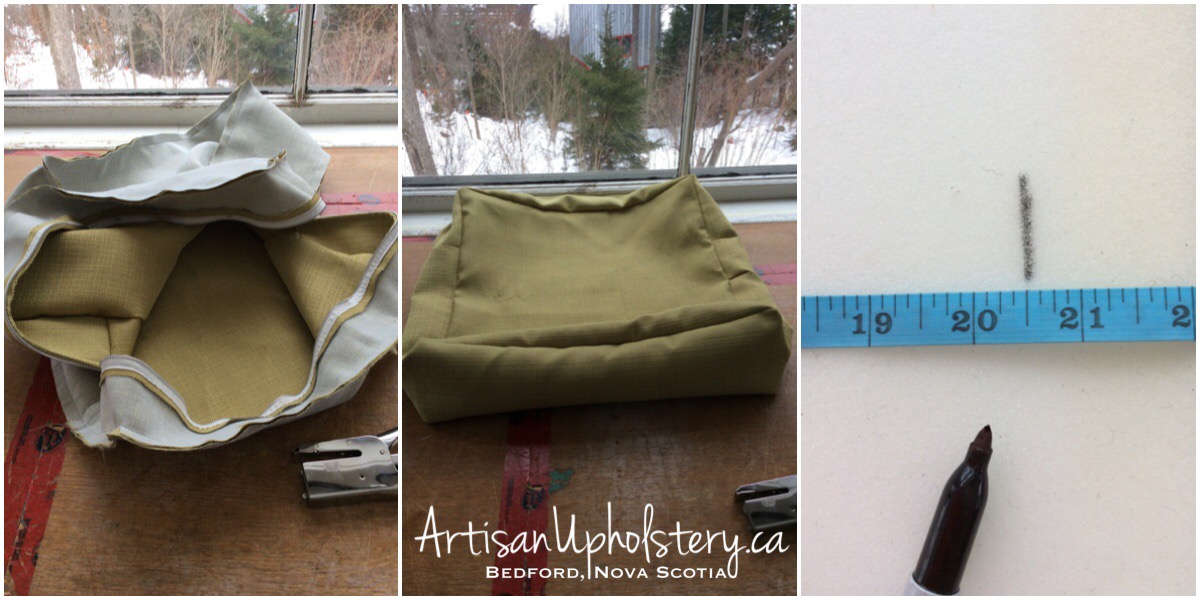
Step 1. Cut your pieces, allowing for 1/2″ seams. For a finished cushion of 20″ x 20″, I cut my cushion panels 21″ x 21″. My finished cushion is 6″ thick, so I cut my border 7″. Cut two border panels; one long enough to wrap around the sides and front, the other a short length of around 6″.
Step 2. Cut and sew your zipper panel. The two cut pieces are sewn to each side of the zipper. I like to make mine wider than I need, and trim it to the exact width of my border. You’ll need to make the zipper panel long enough to wrap around the back of the cushion. The finished width will be the same as your border (mine is 7″). Sew the border panel to zipper panel – the long piece to one end, and the short piece to the other end of the zipper panel.

Step 3. With the zipper panel centred, begin stapling the border to one of the cushion panels.
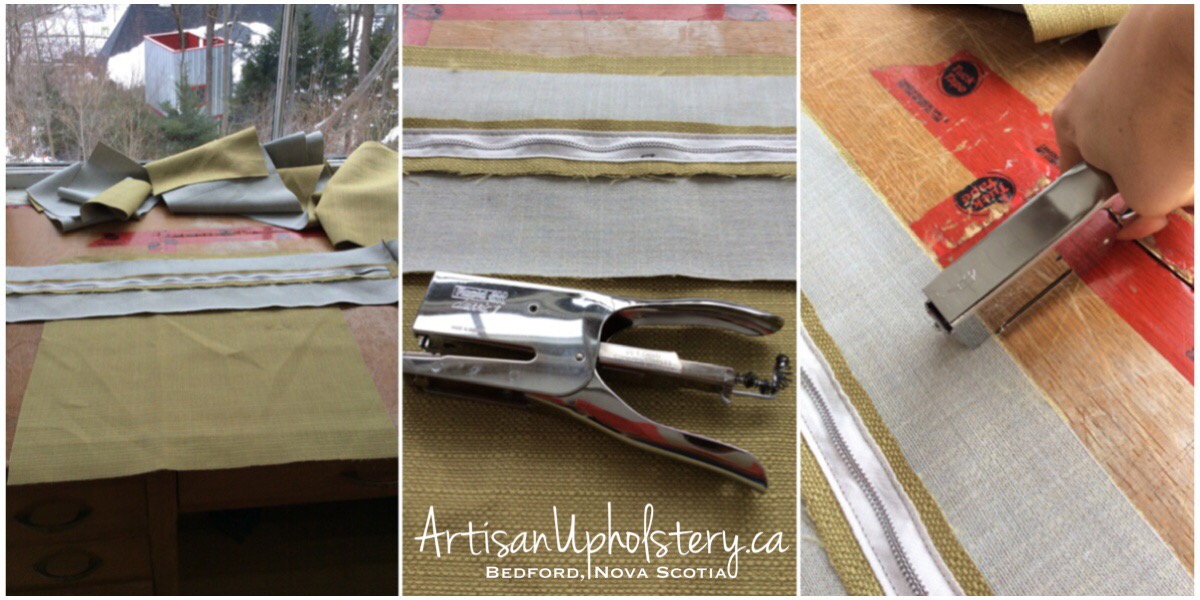
Cut notches at the corners, so you’ll able to easily and crisply turn the fabric.

Step 4. Once your border has been completely secured with staples, sew the border panel to the cushion panel using a 1/2″ seam.
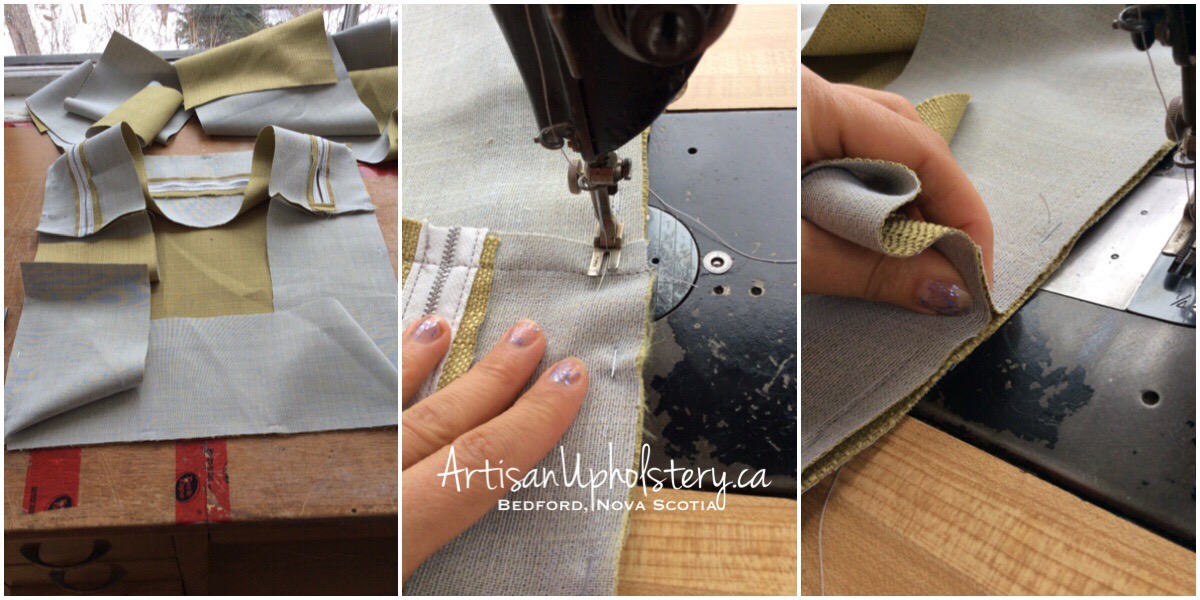
Step 5. Trim away the extra fabric, and sew the border closed. Remove the staples.

Step 6. Determine where your corners are going to be for the second cushion panel, by following the weave of your fabric.

Step 7. Staple the second panel, notching the corners. It’s easiest to line up all corners first, then pull the fabric taut to staple along the sides.
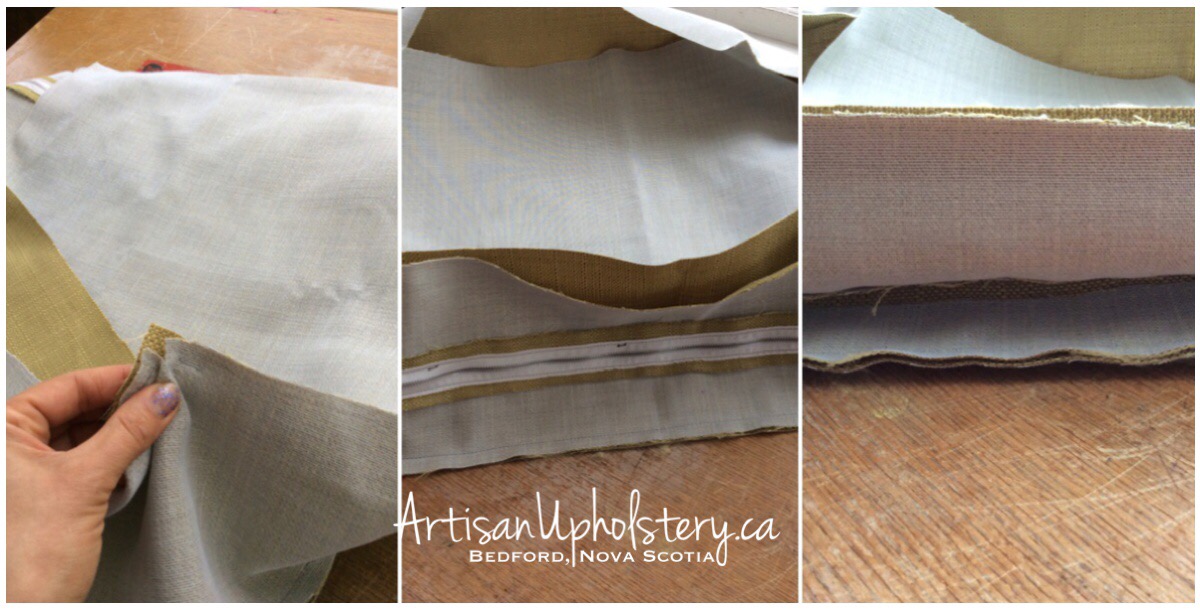
Step 8. Sew the second panel, again using a 1/2″ seam.

Remove the staples and fold the cushion right side out.
Step 9. Cut your foam 1/2″ larger than the finished size to allow for compression. Wrap it with a layer of bonded polyester. Stuff the foam into your cushion and fold the seams down evenly along the border.

Step 10. Close the zipper, and use your regulator to smooth out the corners and any puckers. Steam the cushion for best results.

