

 Except for the “straight pullover” style, this is probably the simplest upholstered dining chair to do. It makes a great beginner project, if you are comfortable with a sewing machine. For each set of two chairs, you will need a yard of a plain fabric (or a yard and a half of patterned). You will also need tissue welting to make your piping.
 You start by stripping off the old fabric.
 Make a template using either the old fabric (you’ll have to remove the stitches to get just the top panel) or the plywood seat as your guide. If using the plywood, cut 1/2″ larger to accommodate the seam allowance. Measure each seat. Often, the “Captain’s Chair” seat is bigger!! Also, if you have a pattern, now is the time to make sure it is centered, and identical on every seat panel.
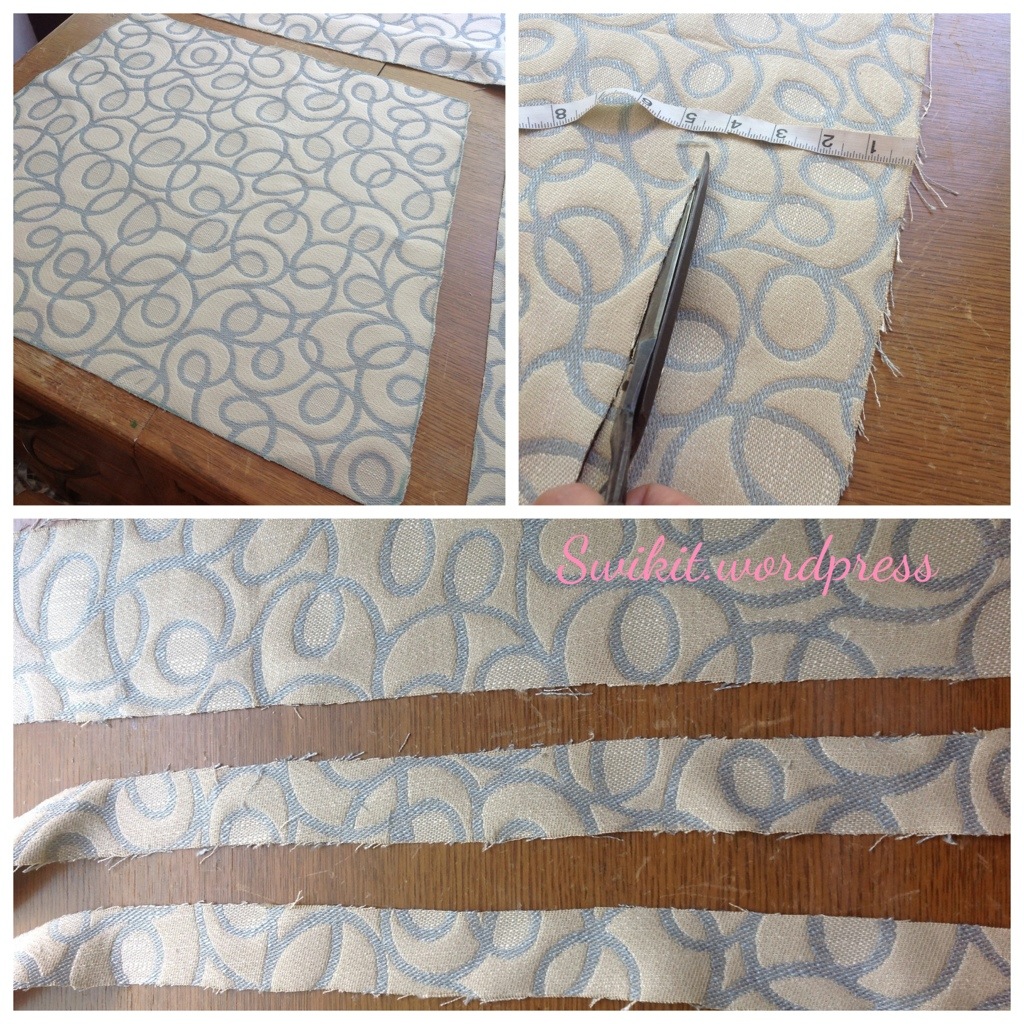 Cut out the top panel, the border (4″ should do) and piping (1 1/2″). Begin by sewing the piping onto the panel.
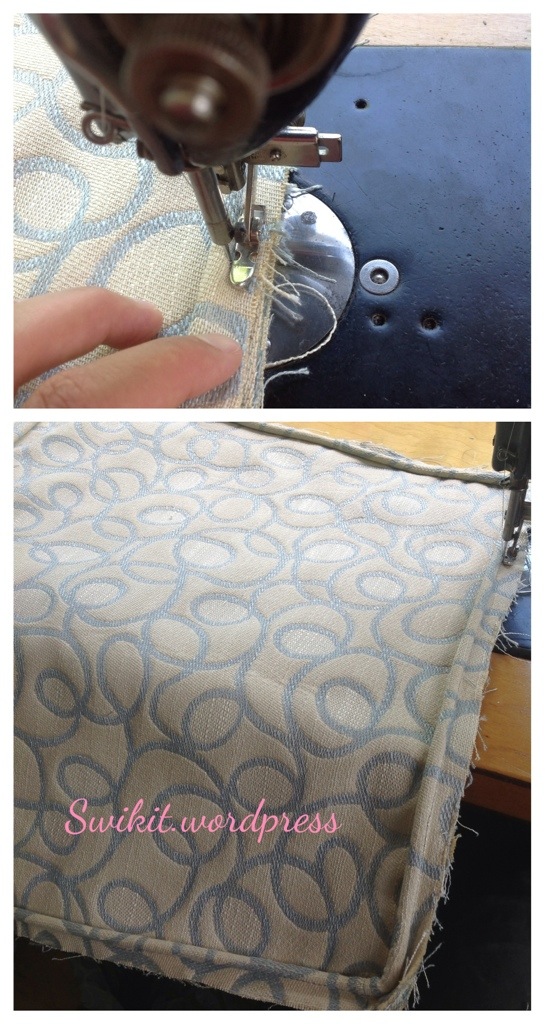 Make sure all joins are at the back!
 Next, sew the border on, by first folding the fabric. At the end, sew right over the folded fabric, overlapping about an inch or two.
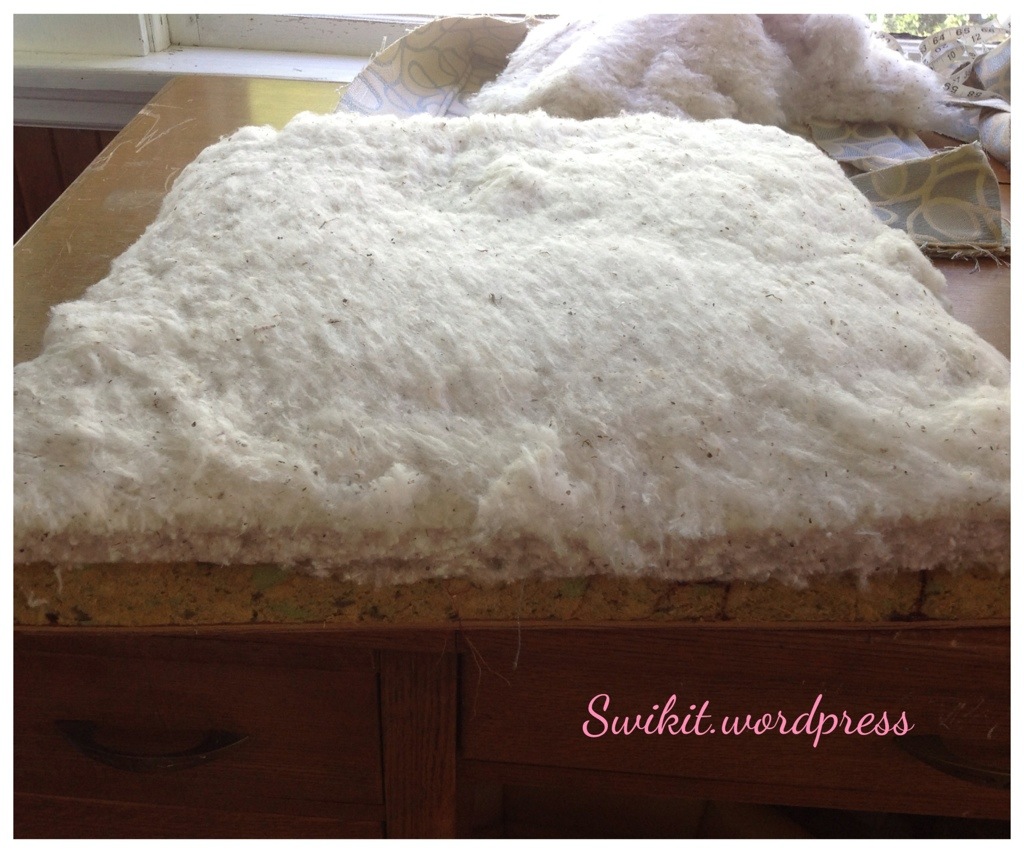 Add a thick layer of cotton felt or bonded polyester. (Skip this step if you prefer your chairs look like you purchased them cheap from Costco. wink)
 The actual upholstery is pretty straightforward. The only trick is getting the measurement the same all the way around.
 Add a row of piping to the bottom, and then tack on your bottom liner. C’est tout!
