
")
Artisan Upholstery Studio has a YouTube Channel! Check it out now to view our descriptive upholstery tutorials!
Did you ever wonder how an upholsterer gets those decorative studs to line up just so? Probably not, unless you’ve tried to do it yourself. They aren’t like regular nail heads; they are rounded. Therefore, if you haven’t had some practice, your DIY chair could end up looking like, well…a DIY chair.
I know there are strips of fake studs available, where you only have to nail one stud in 5. But to me (go ahead and call me a stud-snob) nothing screams second-rate job! quite like a row of fake studs.

If you want a custom look, learn how to place real studs.
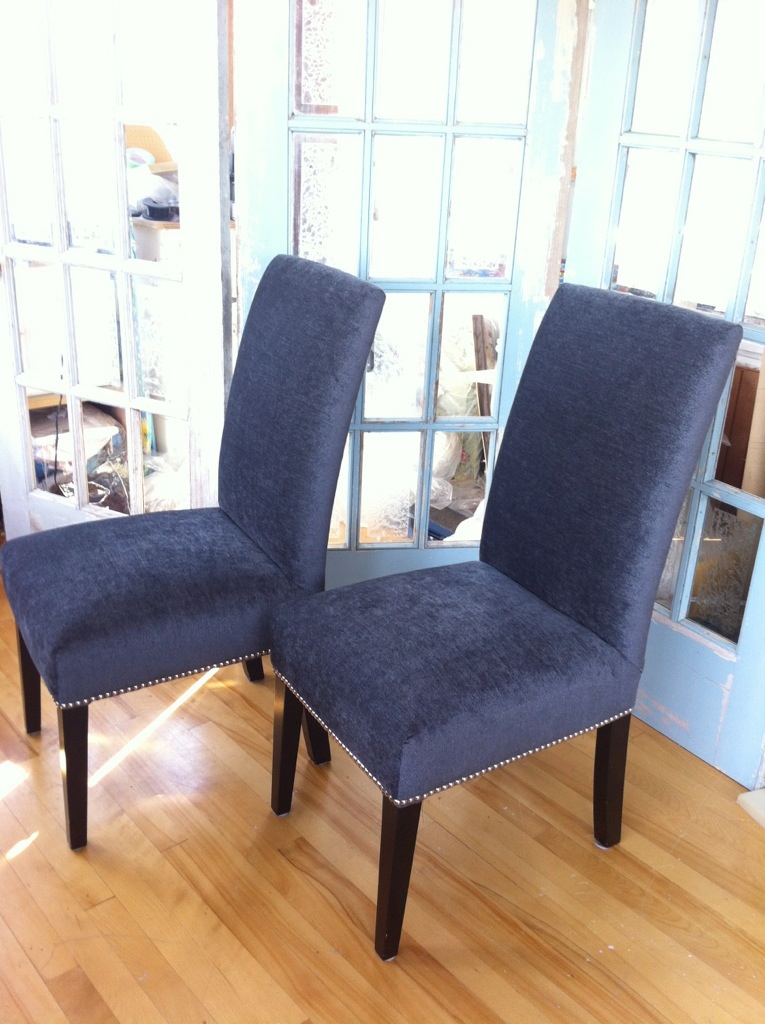
 I have upholstered six Parsons dining chairs (click here for that post) which require studs around the base. Probably about a thousand in total. I made this jig to make light work of this project. Ha!
To make a jig, you’ll need a piece of rigid cardboard, a few studs, a yardstick or other measuring device and a pen.
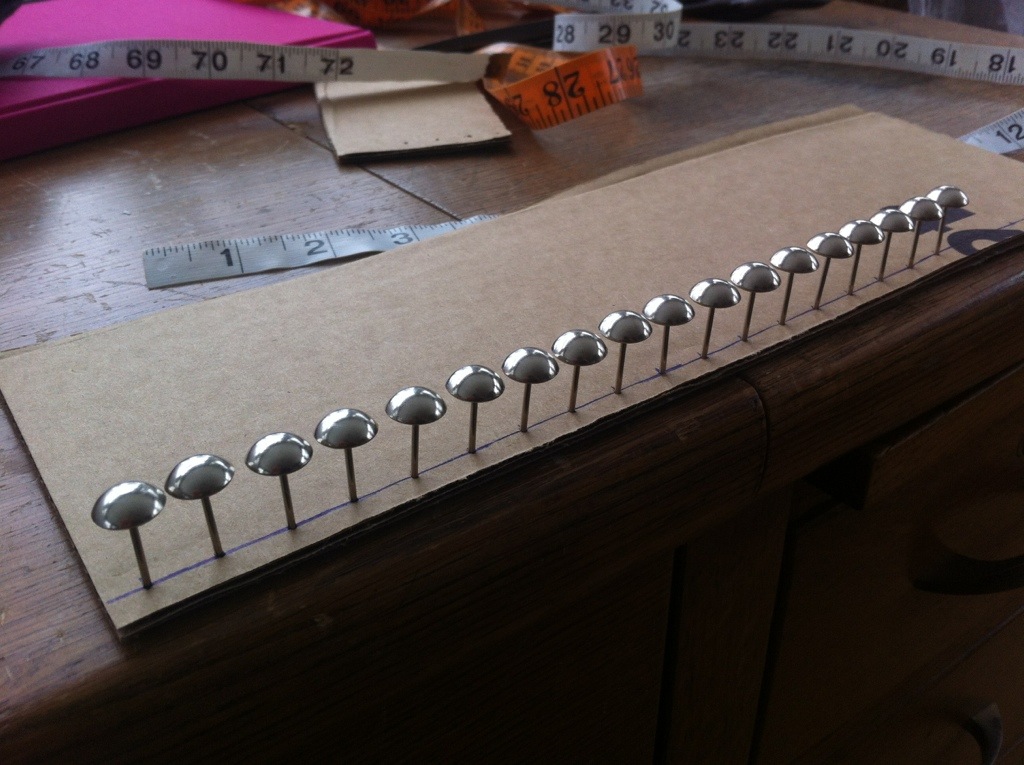
A standard stud is just a smidge smaller than 1/2″ (Yes, that’s how I take measurements, sue me). I find it’s best to space them at 1/2″ intervals. So, mark 1/4″(radius of the stud) from the bottom edge of your cardboard and draw a line.
 Next, Mark 1/4″ from the side edge of the jig, and then every 1/2″ along the entire length of the cardboard. Place your studs at the intersecting marks.
 Remove the studs, and cut very carefully straight lines just to the tiny holes you just made.
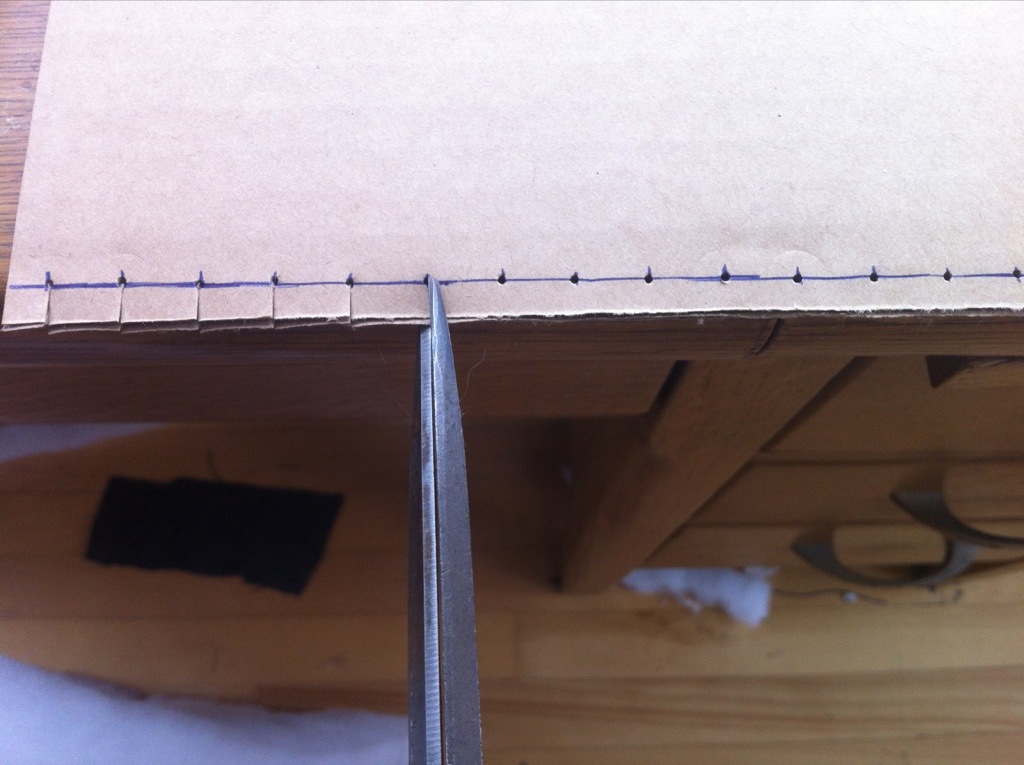 This is your jig. Unfortunately, that was the easy part.
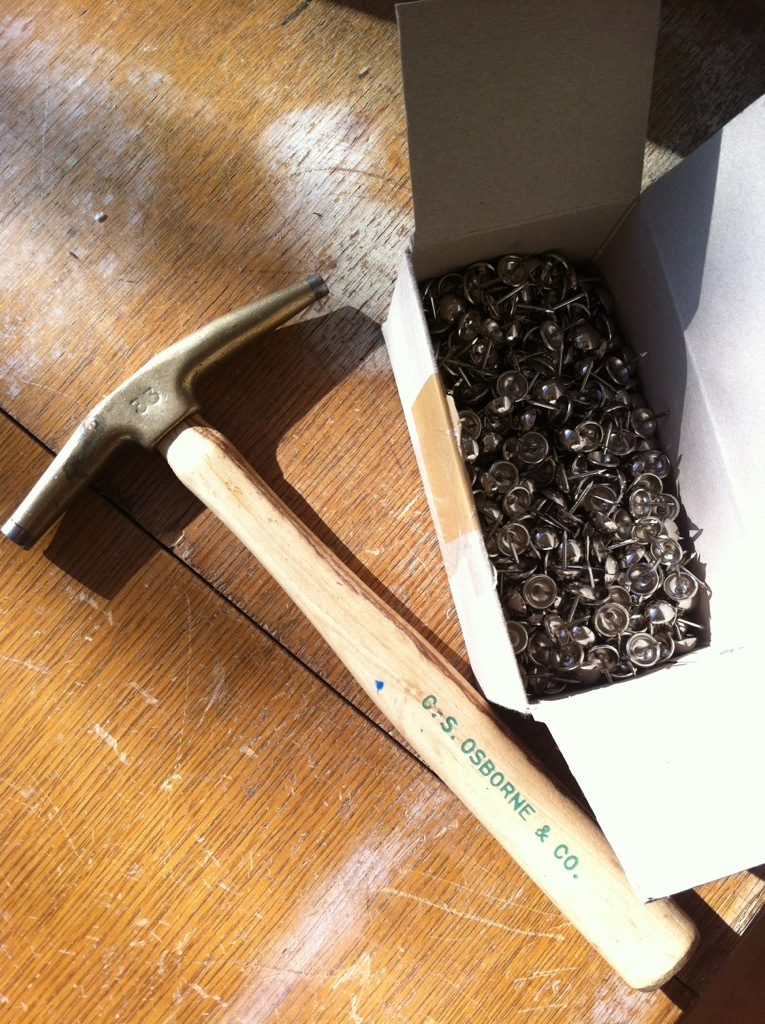 You will absolutely need a proper upholstery tack hammer for this project, and some studs. Mine have a 1/2″ shank.
 Next, measure your chair, so you know where to place the first stud.
 Place your jig on the edge and begin nailing your studs. Make sure the posts are straight. You don’t want to nail them in all the way, yet.
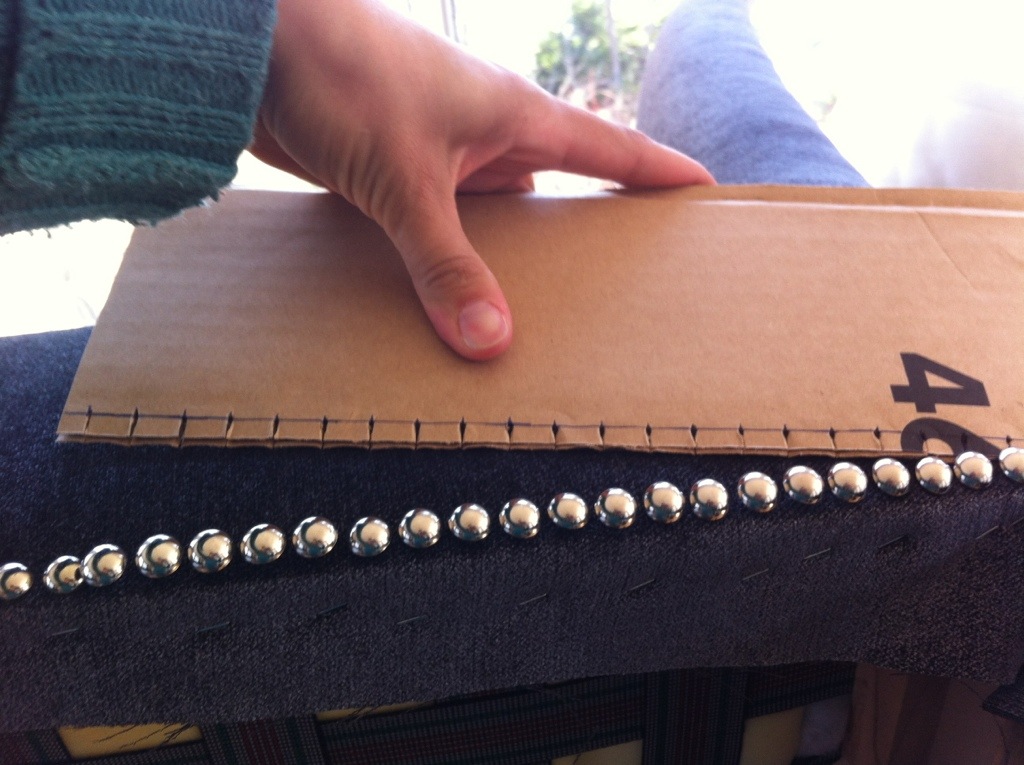 Once you have filled your jig, pull it out, and nail the studs in completely. I find it helps to hold them in place while hammering, until they are secure. Even so, some will stray.
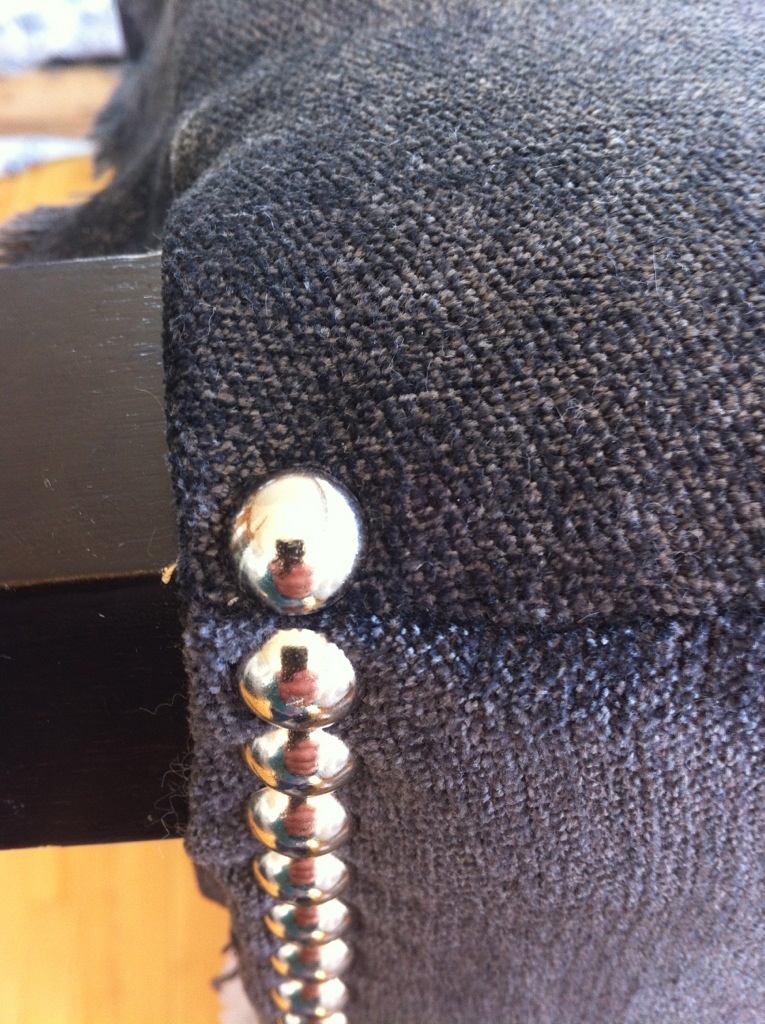
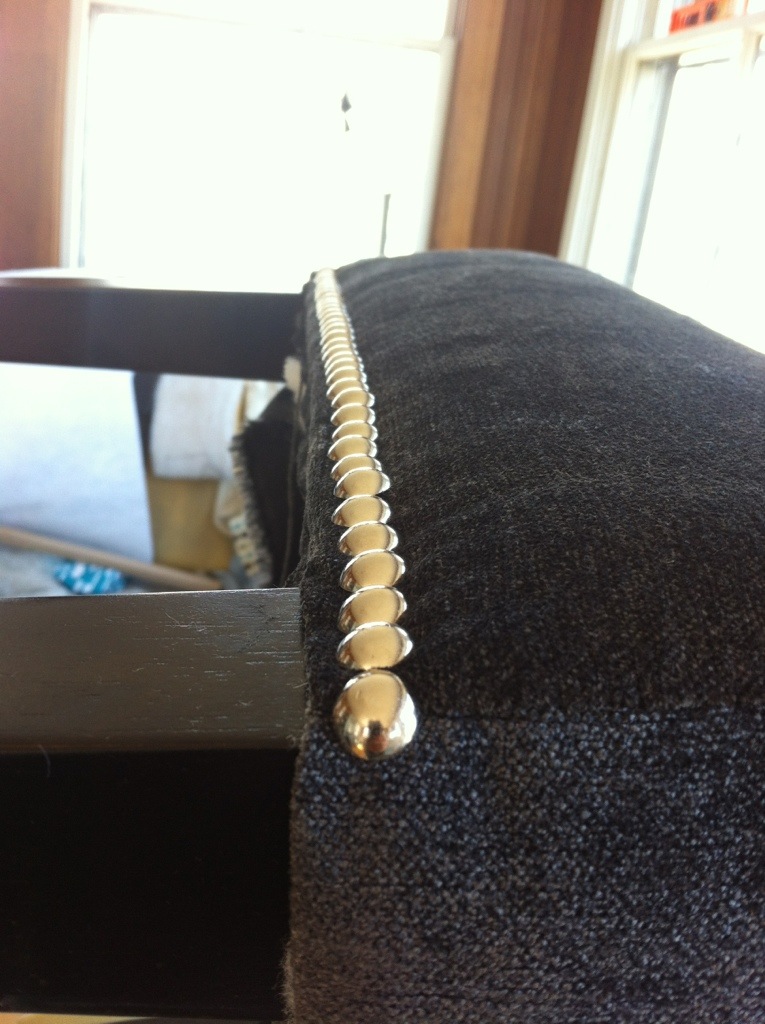 They probably won’t be perfect, but you can now fix them.
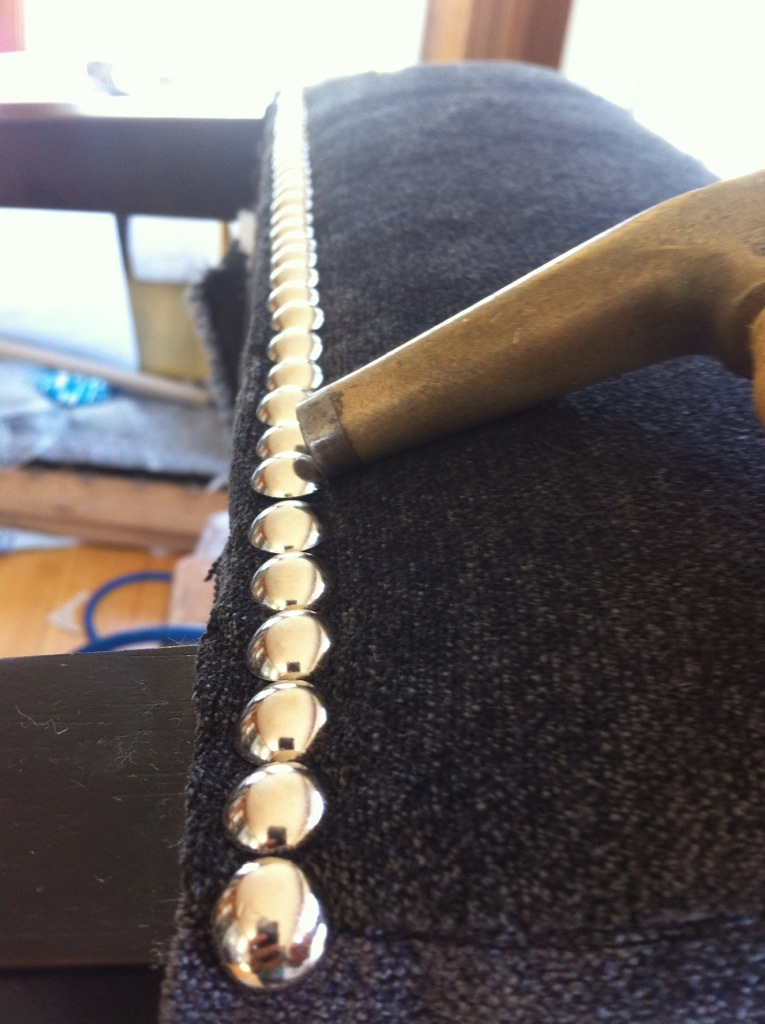 You can use your tack hammer to manipulate the studs into alignment.
 They can also be adjusted using your staple remover.
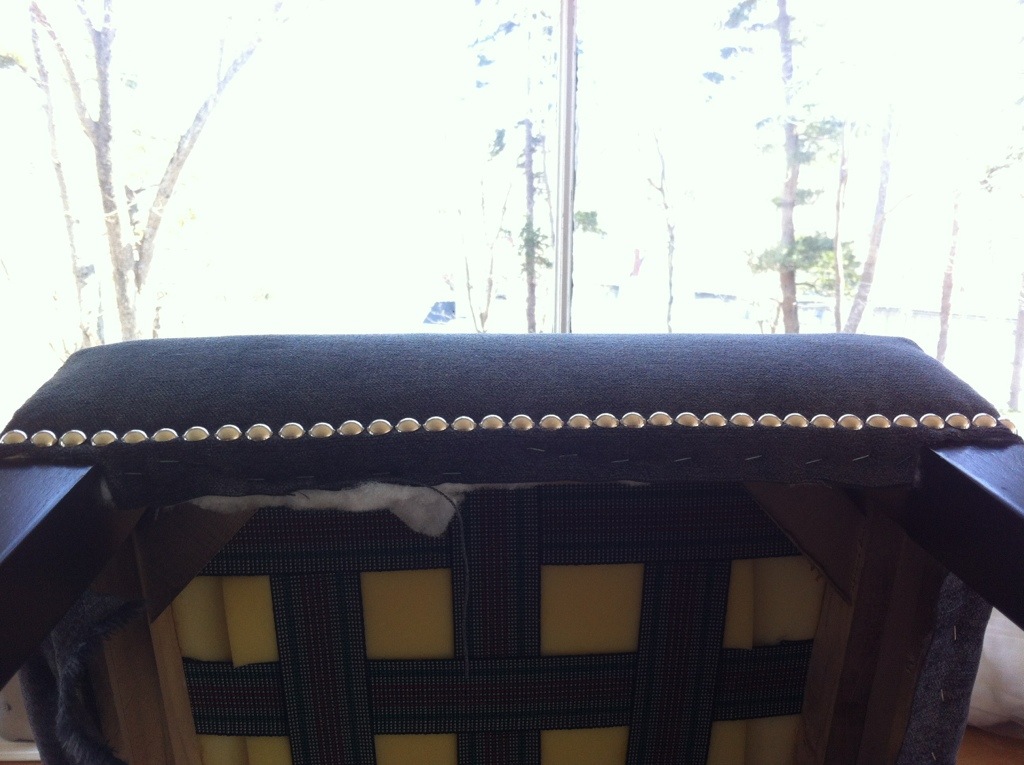
Care should be taken to keep the all the gaps the same.
 Use this method around the entire chair.
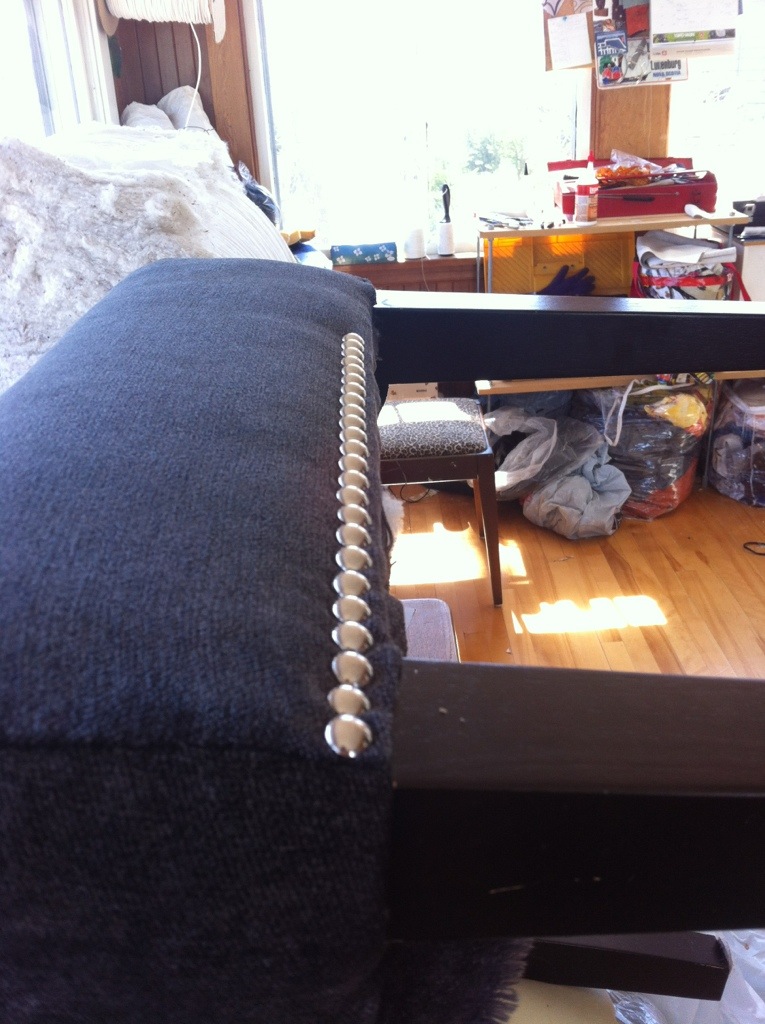
 Make sure the corners have roughly the same gap spacing as the rest of the studs.
It may seem difficult to begin with, but dining chairs such as these are perfect for practicing your stud skills. Have fun, and let me know how you did!
