


This sweet loveseat was brought to me for a makeover. It isn’t an antique -just a reproduction piece- but it’s still cute as a button and worth saving. It will look terrific with a bit of updated fabric.  Tufting a seat and back is not something I would recommend for a first-timer. You’d probably want to try tufting a headboard or ottoman for a beginner project. These are the steps I went through:
Using the old fabric as my guide, I marked out where the new buttons would go.  I prepared the seat with a layer of cotton felt padding.
  I made holes in the felt with my fingers, and cut the felt where the pleats will go.
  The foam looked like this before I covered it, with holes die-cut out where the buttons are placed.
  For tufting, I use button twine, a long button needle, and wire-eye buttons.
 I make the buttons myself with my button maker. For this project, I made 44 buttons.
 I started in the centre, matching the mark on the fabric to the correct hole in the foam.
 I placed all my buttons before tying them at the bottom using a slip knot.
  I arranged the folds in the pleats before I pulled the slip knots as tight as I could.

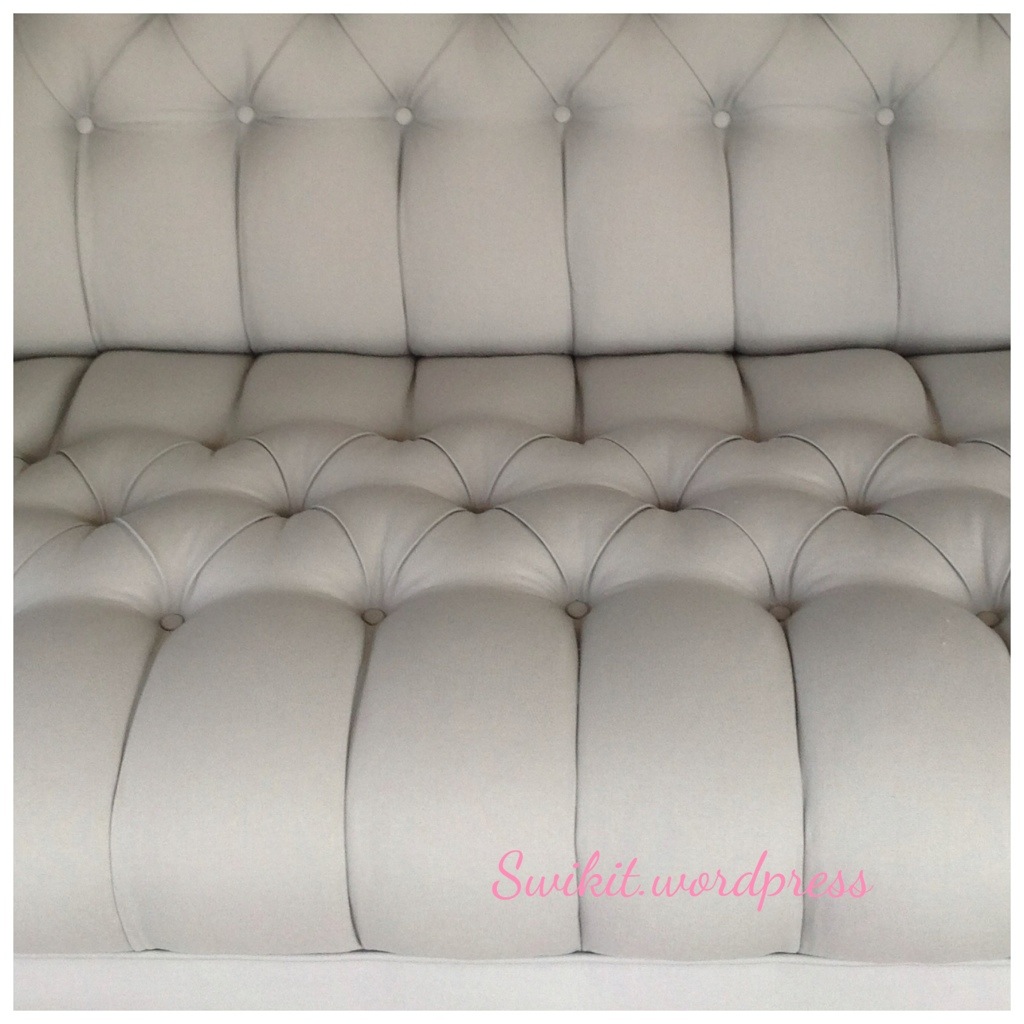 When finished, the pleats should be even and neat.

