Armcaps are oh-so-easy to sew. All you need is a fabric that either matches, or coordinates with the fabric on your piece of furniture.
The first step is to make a pattern of the arm. There are a couple ways to do this, depending on the style of arm your sofa has.
On this chair, the shape of the arm is determined by the front.
 Trace the shape of the front of the arm onto your chosen fabric.
 Next, determine how long you want your caps to be. I strongly recommend making the caps the entire length and width of the arm, as it looks much less conspicuous, however, in my case I didn’t have enough fabric!
 Once you have your two pieces cut, stitch them together, and then topstitch for a more professional look.
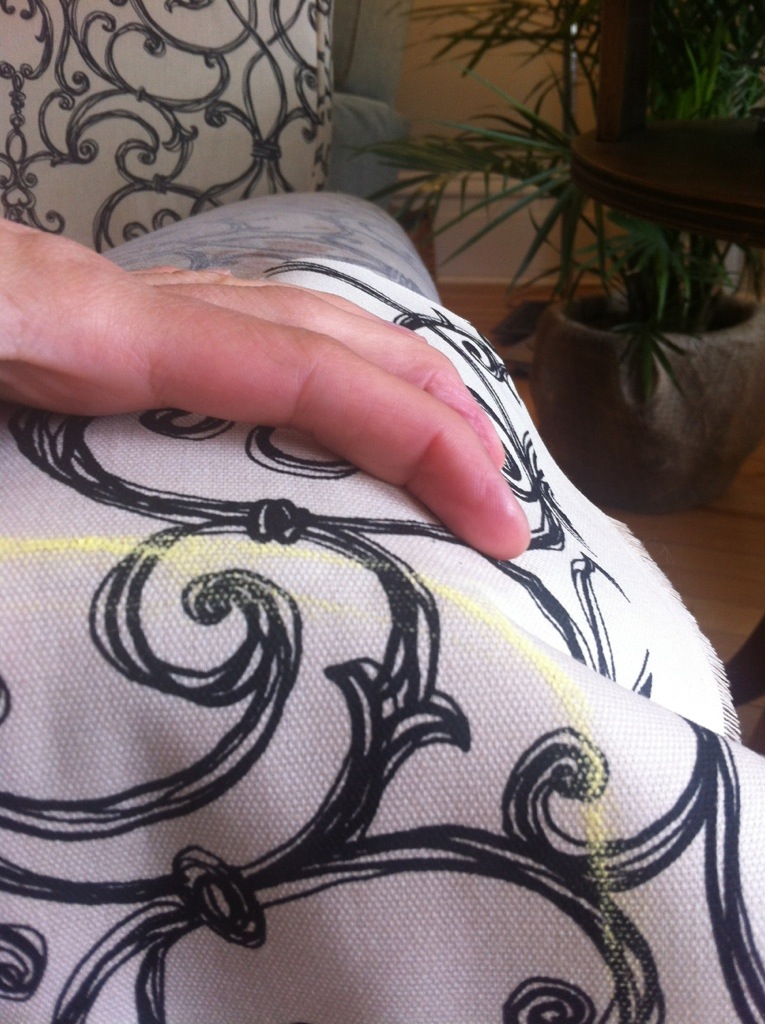
 On the front it will look like this. Hem the bottom. If your fabric frays, don’t forget to zigzag the edge first!

 Much better, even if the pattern doesn’t line up properly.
For my sofa, the shape of the arm is determined by the side.
 When tracing the pattern, the shape is traced from the side rather than the front. A long band is cut out for the top of the arm.
 The inside piece is also shaped to the curved side view. The three pieces are stitched together to form the cap, and then topstitched for a professional look.
 Use twist pins to hold them in place.

