
NEW!! Artisan Upholstery has a YouTube channel!

In a few of my recent posts, I have mentioned blind stitches. Knowing the art of blind stitching is crucial in upholstery. Before there were supplies available for making upholstery quicker, all upholsterers used blind stitching to close seams on furniture. It is an important step for a tailored piece of furniture, so put away that hot glue gun, and learn how the pros do it!

Any long pleat will have to be closed to preserve the look of your upholstery work.

For blind stitching, you will need a small curved needle like these: https://amzn.to/2V4w6Ou and some heavy thread. You will probably want to match the colour of the fabric, but for perfect stitches it will not matter (and in fact it’s a pretty good test of your skill) because as the name implies, when done correctly, you will not be able to see the stitches.
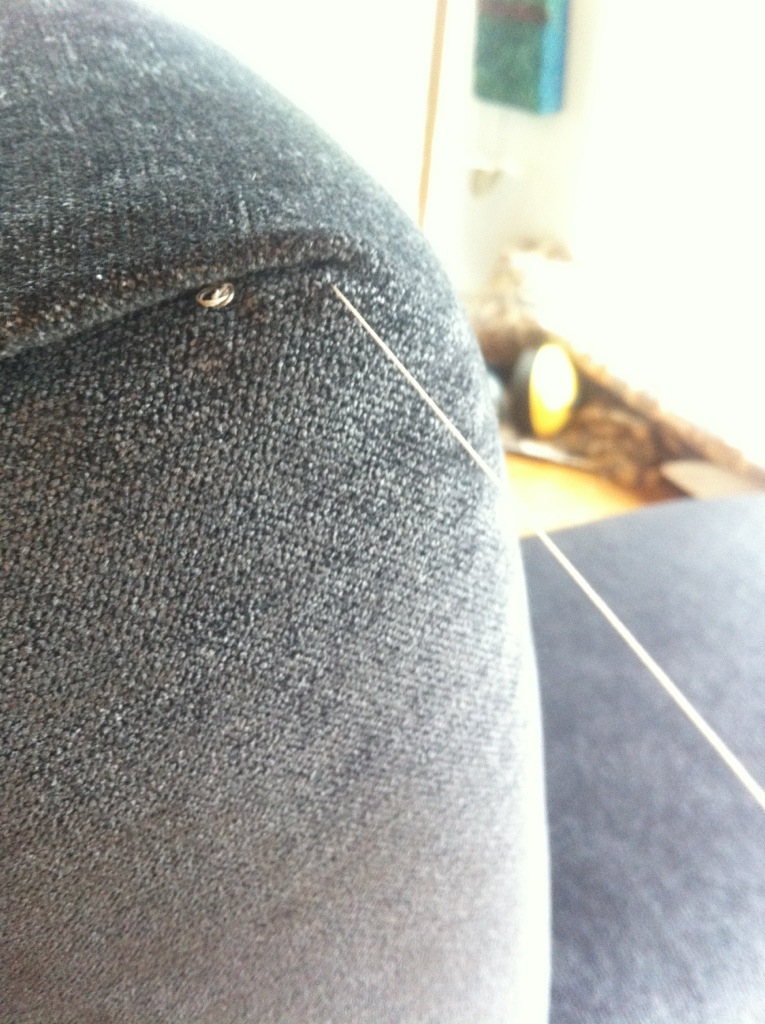
Make a knot at one end of the thread and make your first stitch in the opposite direction to hide the knot in the pleat.

Make a small 1/4″ stitch one one side of the pleat, and then on the other side of the pleat, meeting where the first stitch left off.

Your stitches would look like this really fancy diagram (without the fabric):

After you make a few stitches, pull the thread tight, sinching the folds together.
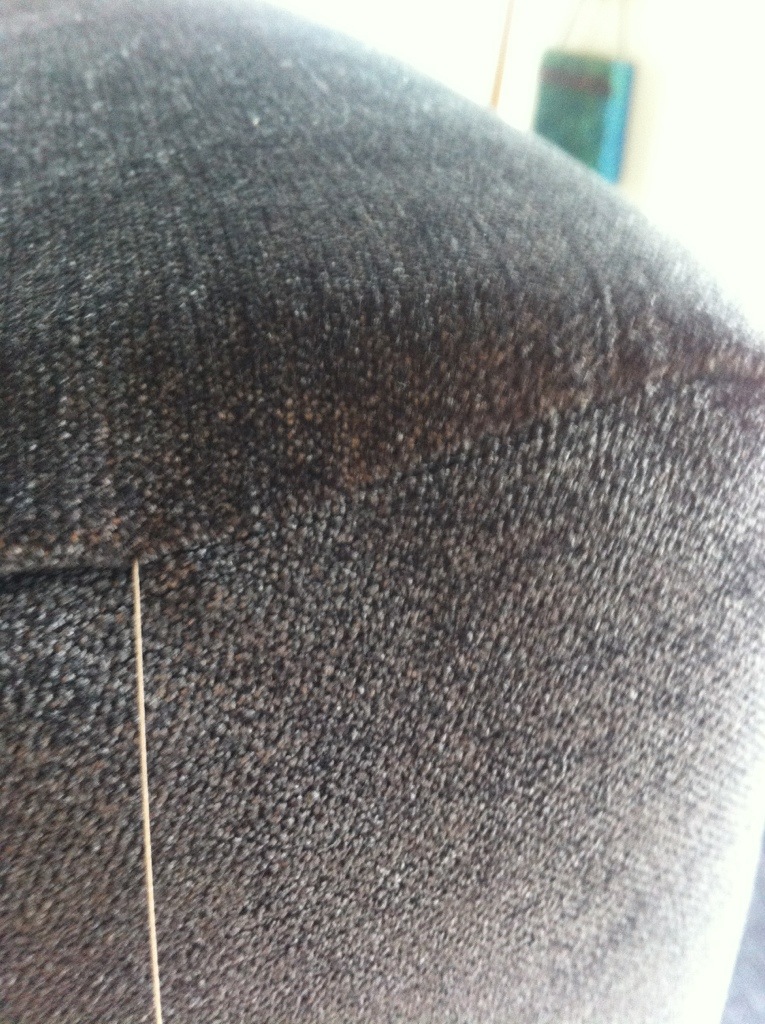
Keep stitching along the length of the pleat.

To finish the stitch and keep it tight, stitch backwards into your last stitch a few times.

I use this stitch on all long pleats, and anywhere that looks loose and needs a bit of tailoring, as well as to close up toss pillows. I find it’s better to stitch more than necessary than not enough.
